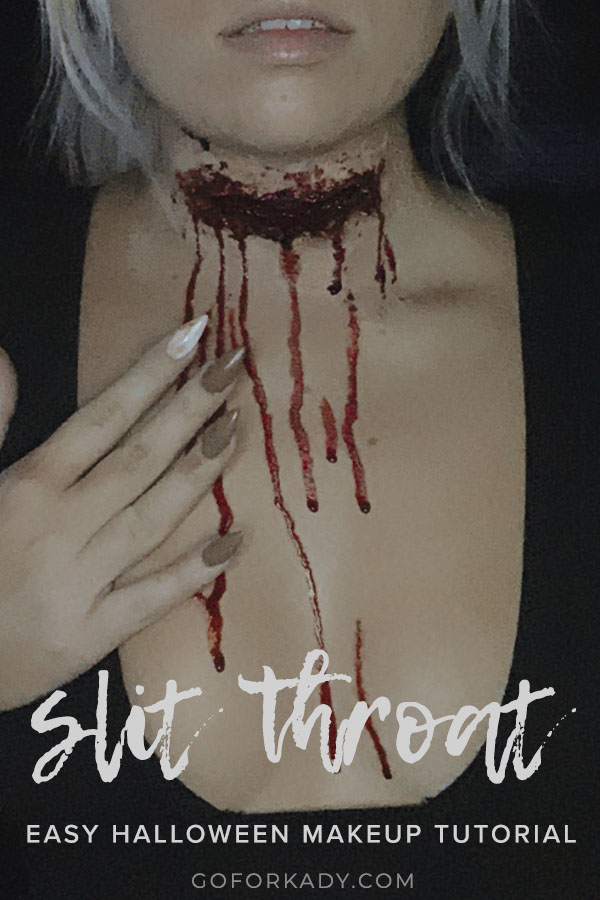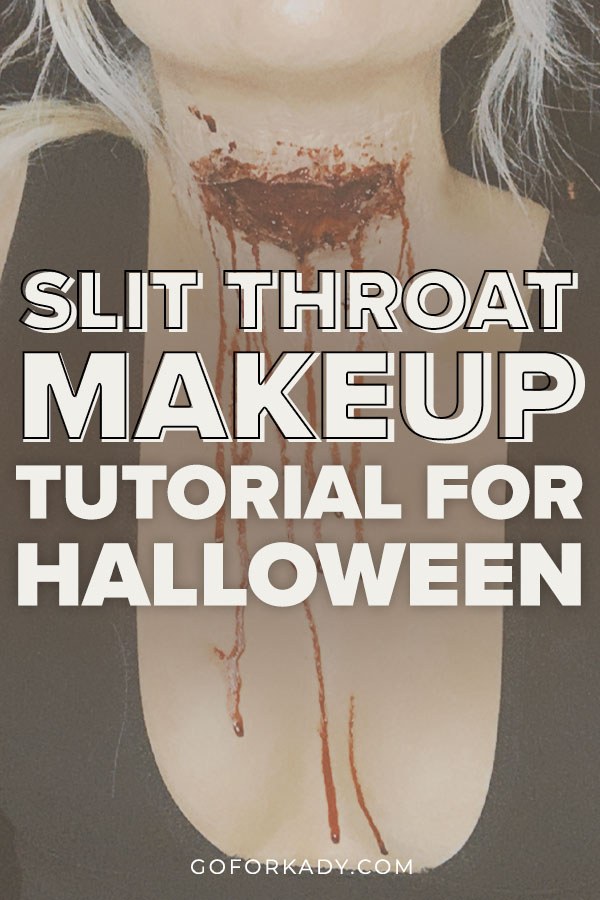
Wanna up your Halloween game this year? This tutorial will show you an easy way to do spooky slit throat makeup with just a few items!
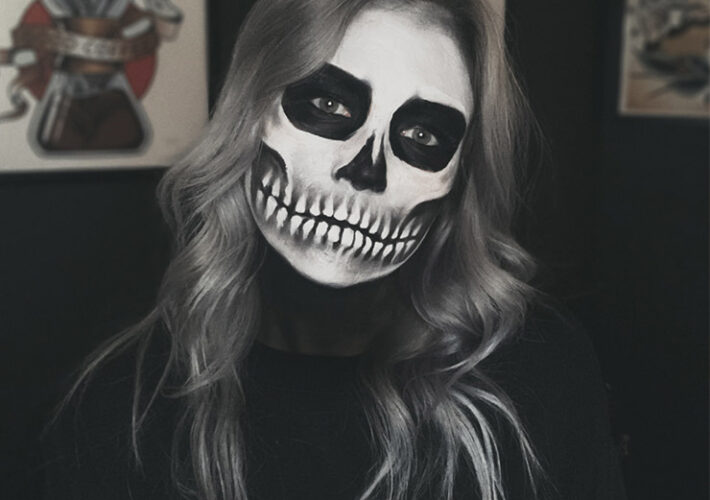
I’ve always loved doing super scary, transformative makeup looks for Halloween. As I’ve mentioned before, I usually like to do some skull makeup for Halloween — it’s super easy and has a huge wow factor.
But lately, I’ve wanted to dive into the world of SFX makeup for Halloween. I love how you can make so many gory, gnarly fake cuts and wounds with just a few simple items.
I’ve done gory SFX makeup for Halloween a couple times in the past, but I wanted to share with you guys today just a super basic tutorial on how to make a fake cut with makeup. Making fake wounds and cuts is a foundation of this kind of halloween makeup, and once you have it down, you can use it pretty much anywhere.
shop this look

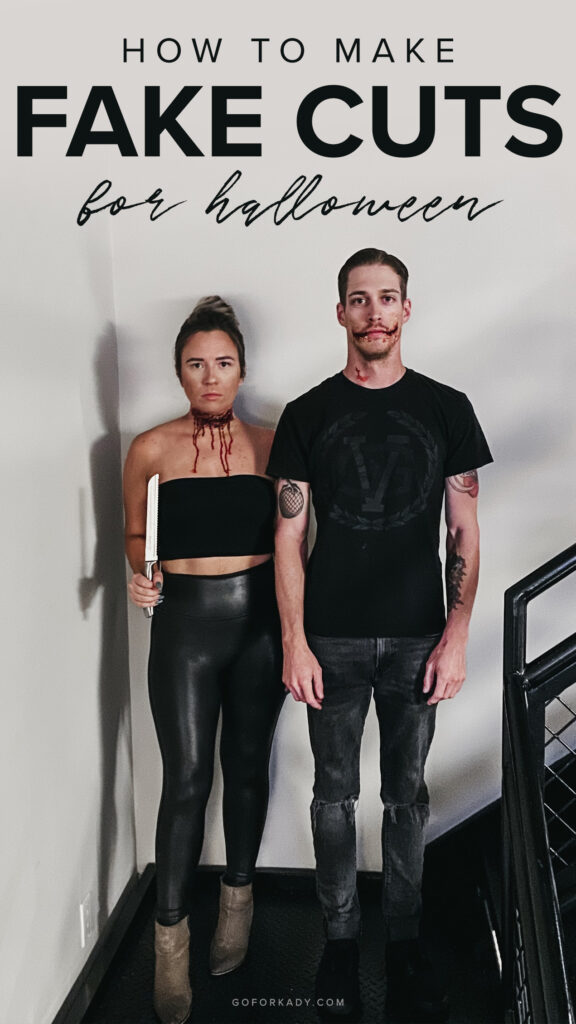
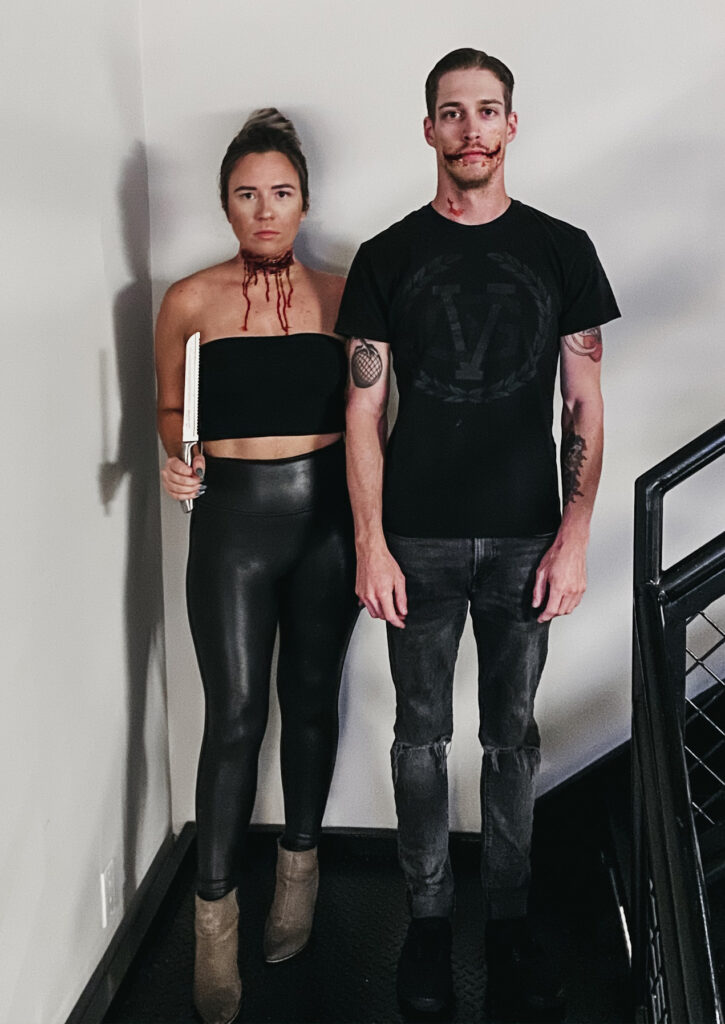
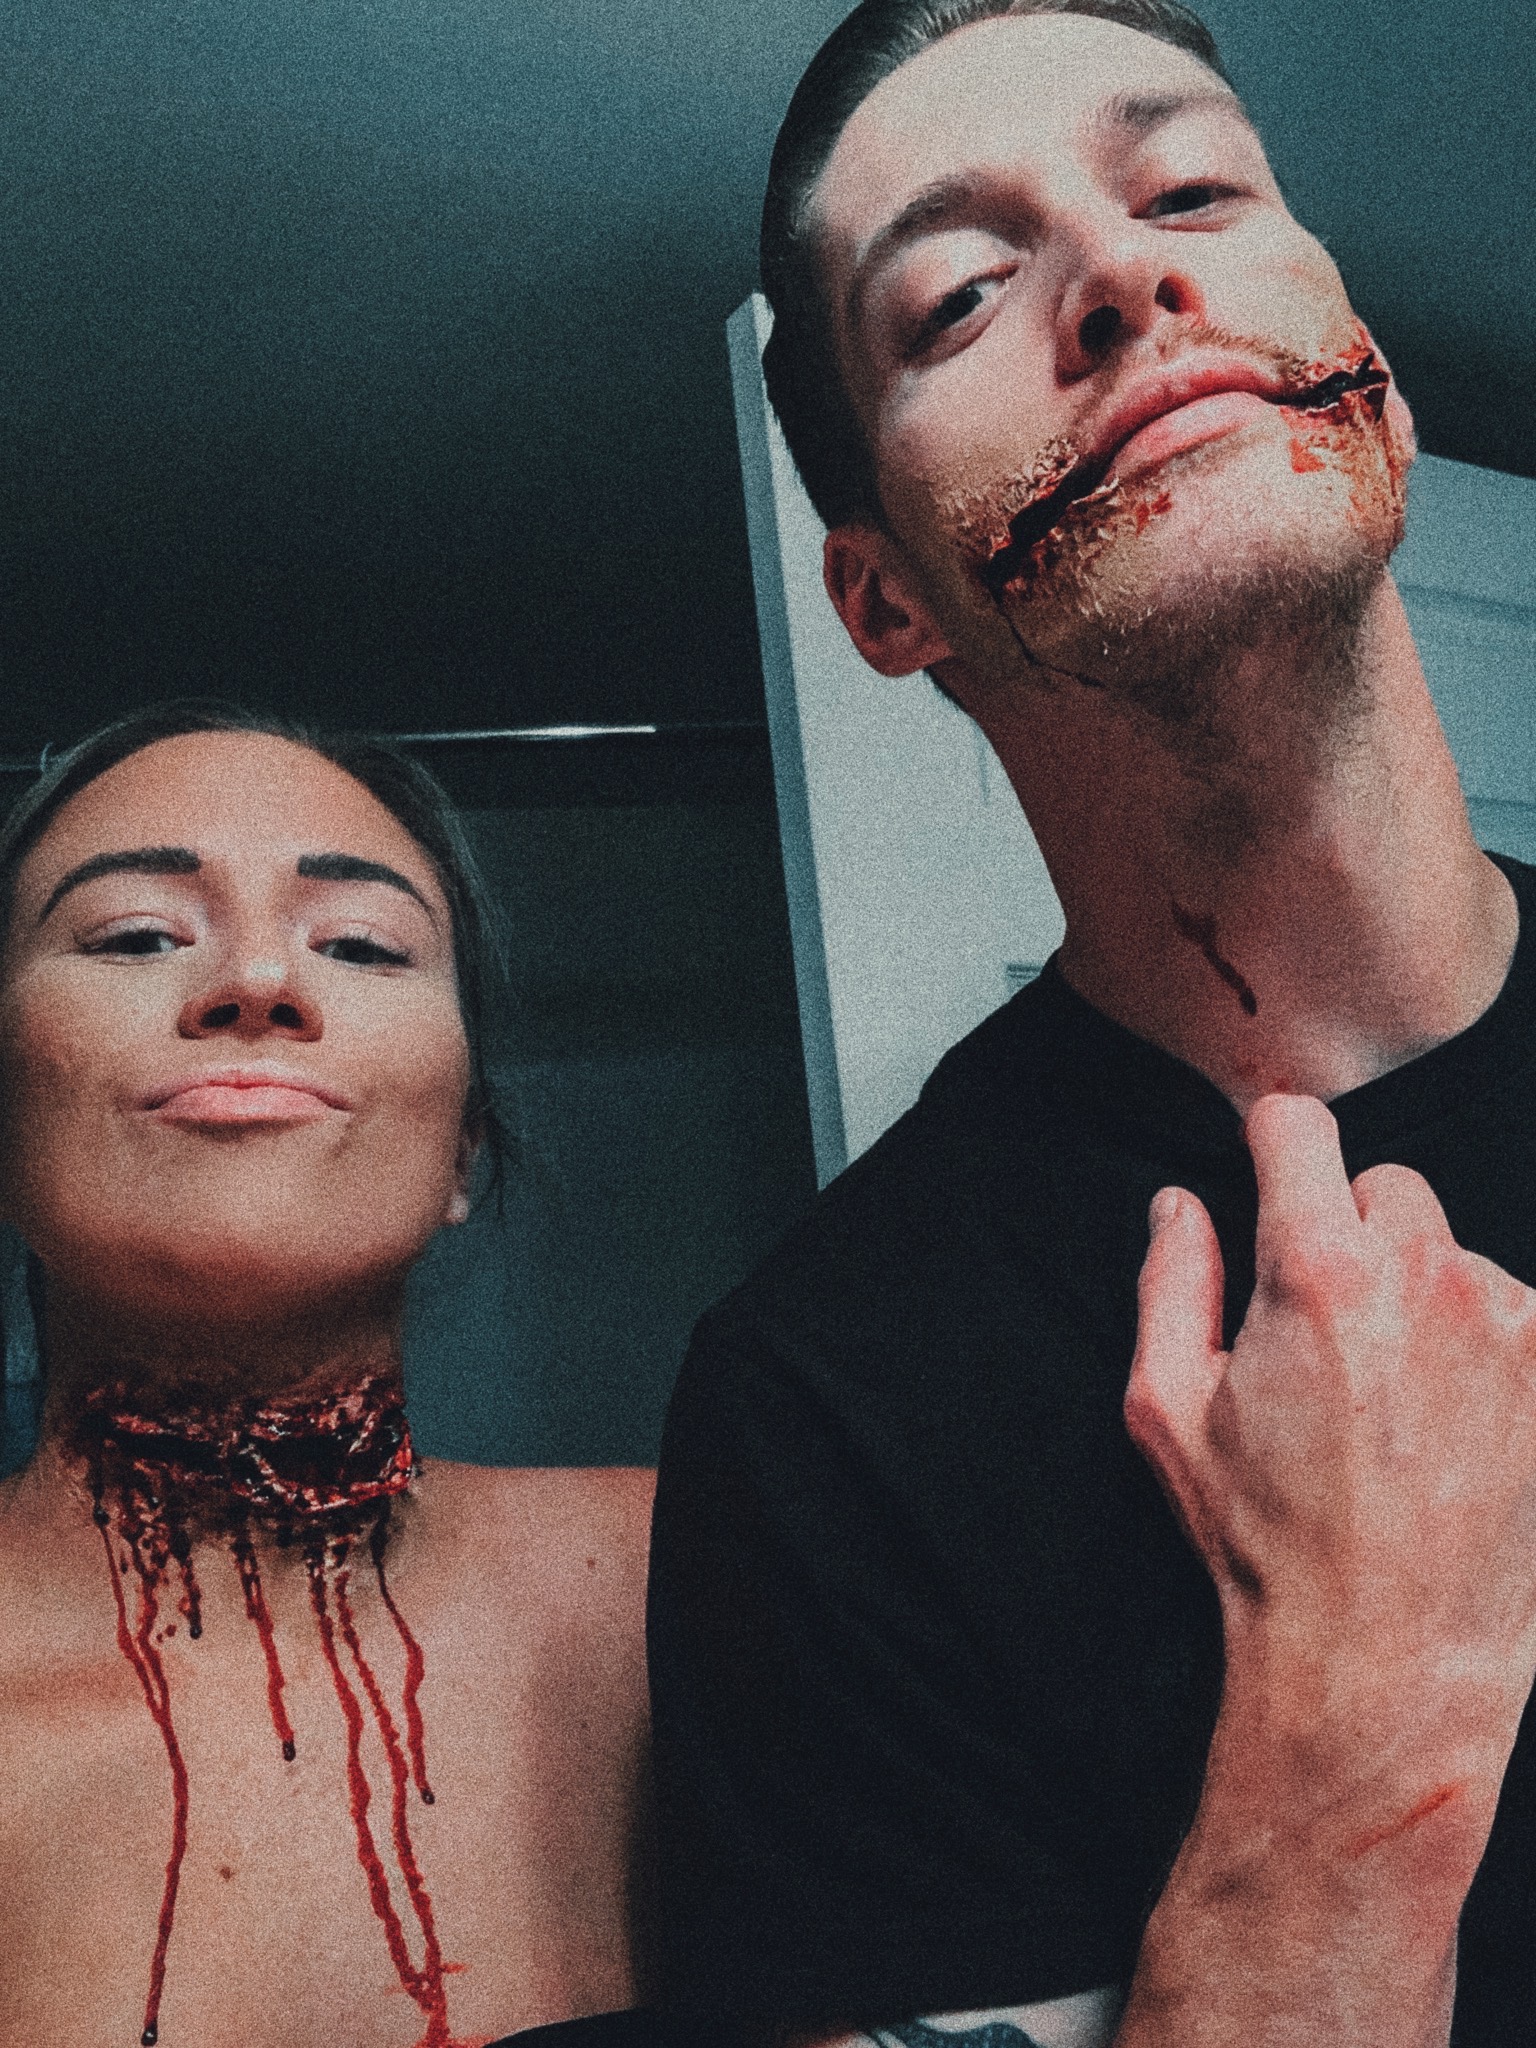
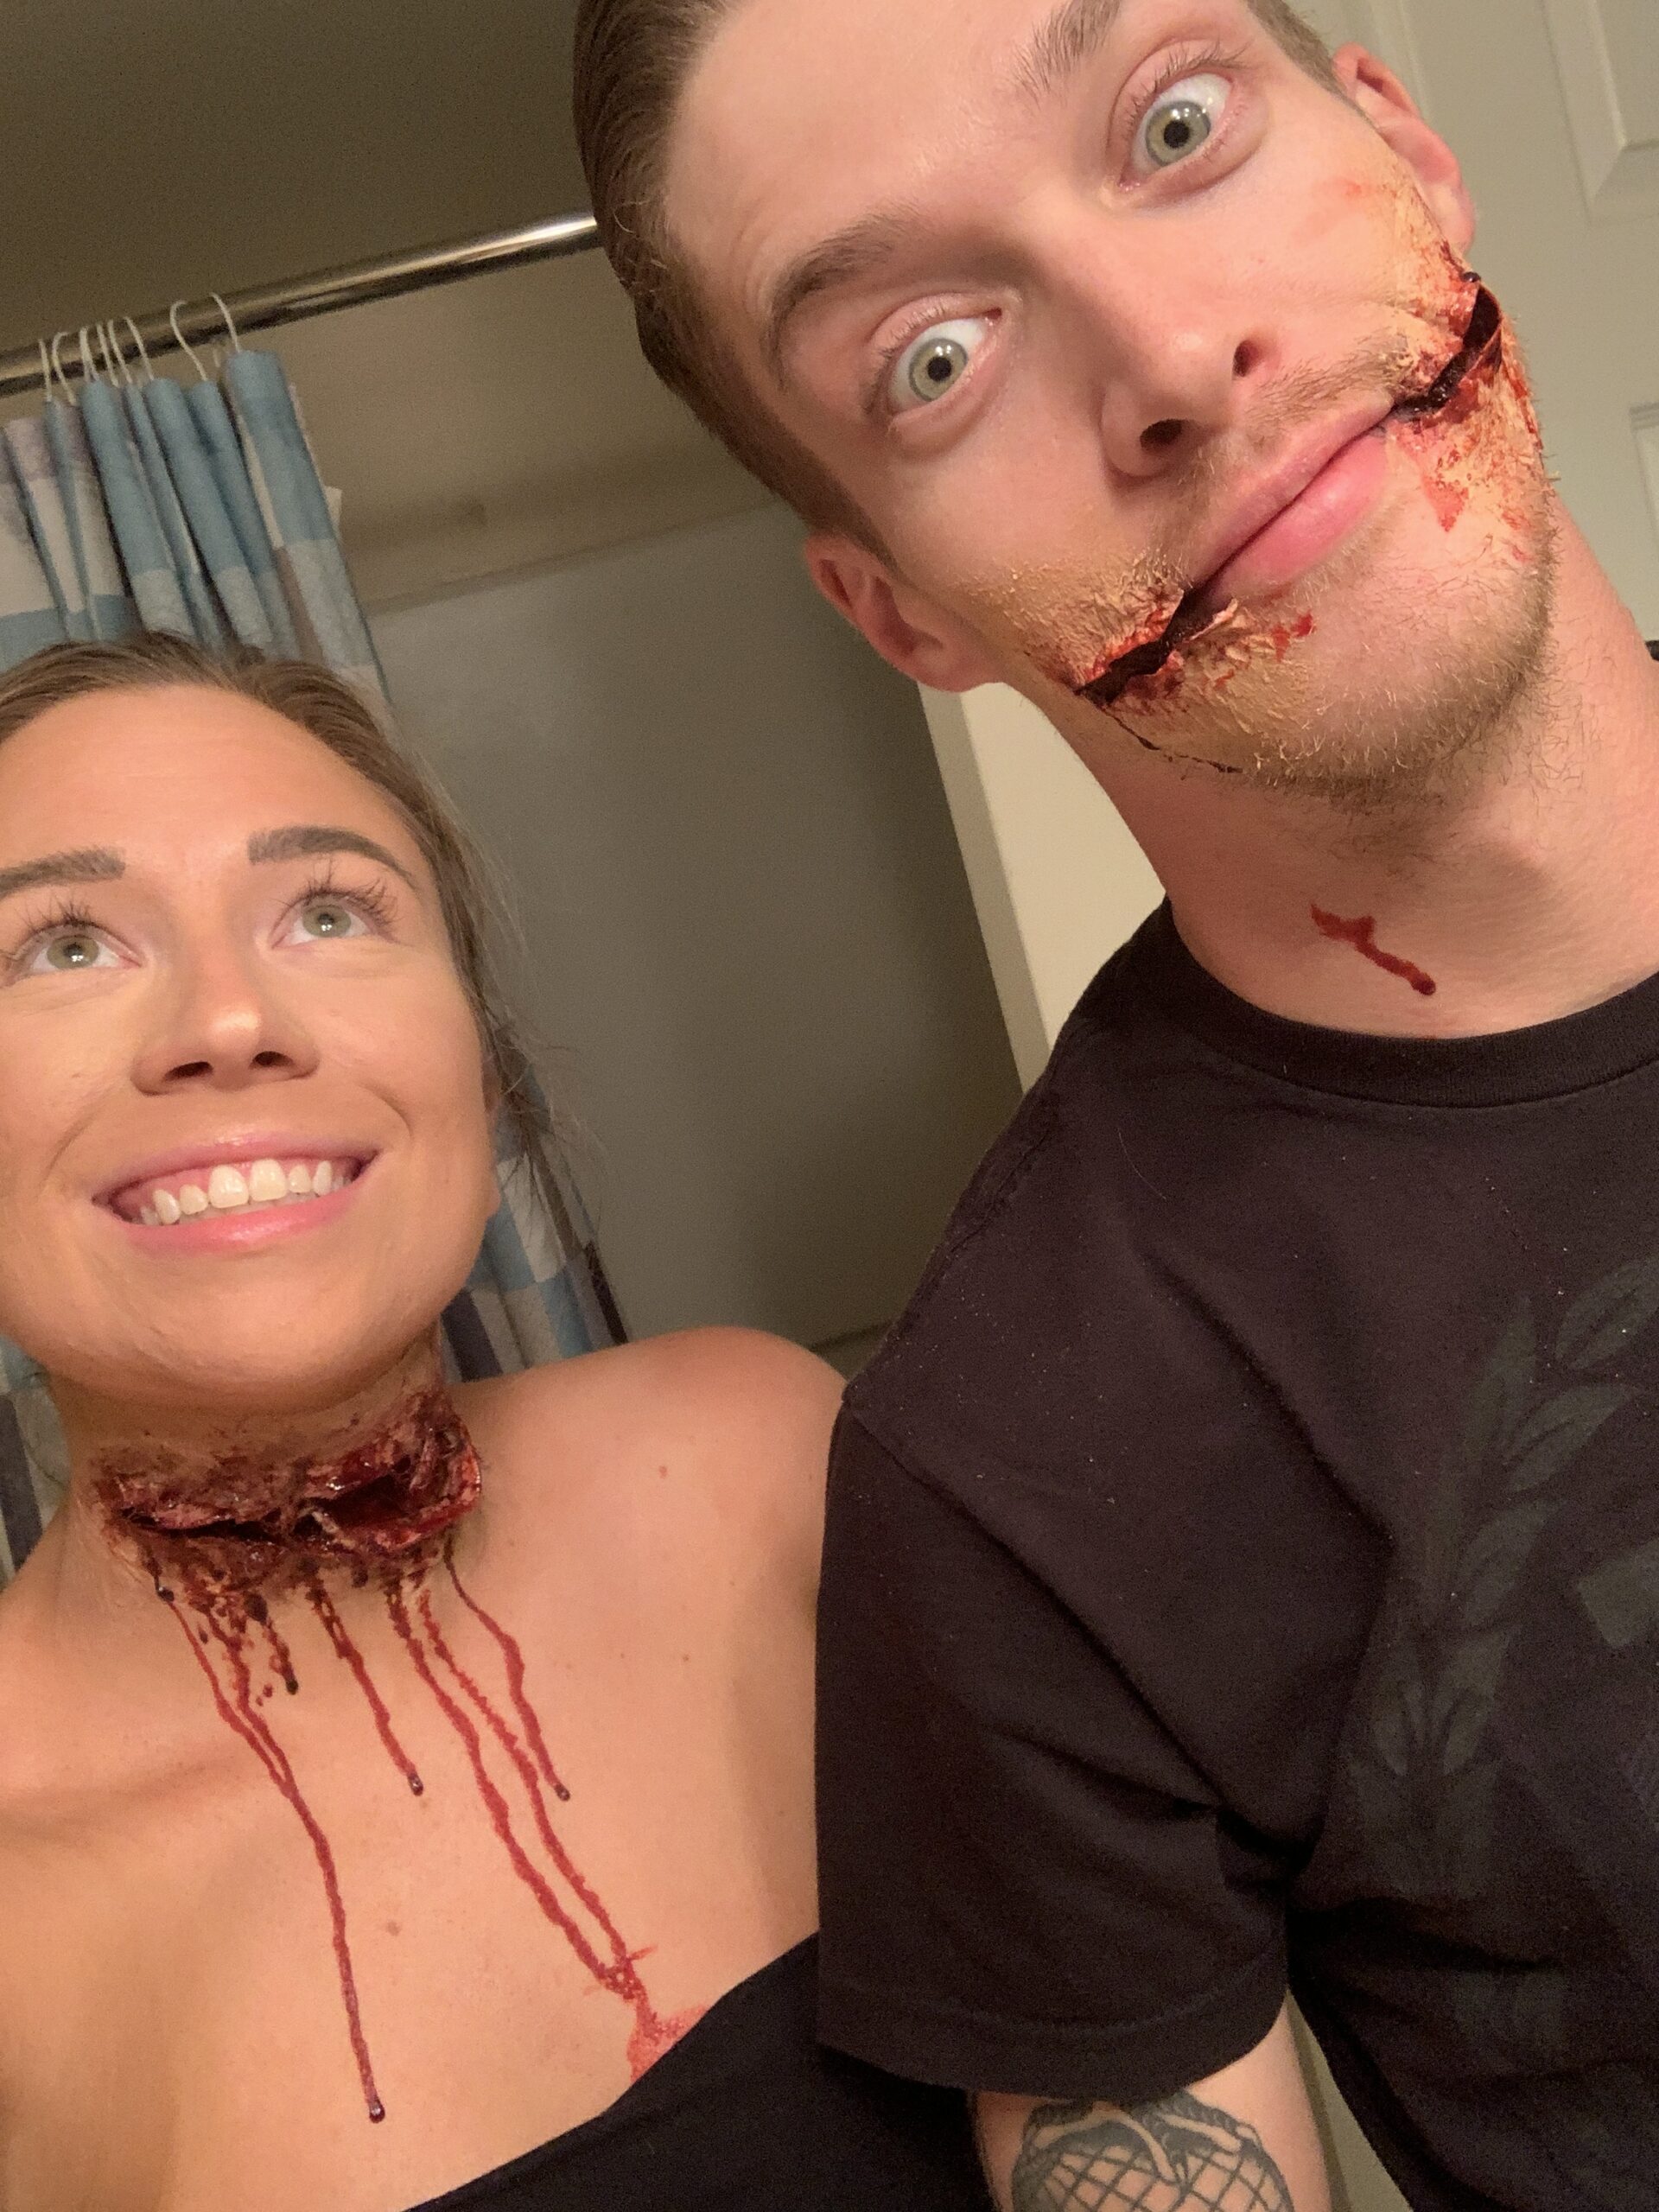
This past halloween, I used this method on my boyfriend and I because we wanted super easy, but high impact Halloween makeup looks. Using this technique, I gave myself fake slit throat makeup, and gave him a fake chelsea smile. Honestly it’s such a good couples costume that requires literally no effort at coordination — just wear black and you’re good!
I love these types of Halloween makeup looks because they look way more difficult than they are. Read on to see how easy it is to make these fake cuts with makeup!
This post may contain affiliate links, meaning I may receive a small commission if you shop through these links at no extra cost to you. For more information, check out the disclaimer here.
What you need for slit throat makeup
- Liquid Latex — I’ve used both Ben Nye and Mehron and they’re both great (also goes without saying but don’t use if you’re allergic!)
- Tissues or cotton balls
- Makeup wedge
- Scissors (I like to use nail scissors!)
- Scab blood
- Stage blood
- Any red eyeshadow
- Plastic palette knife
- Your regular foundation
Shop the exact products I used here!
How to do easy slit throat makeup for Halloween tutorial
@goforkady super simple halloween sfx makeup u can use to make legit any wound ##boo ##horrortok ##sfxmakeup ##halloween2020 ##halloweentutorial
♬ Tiptoe Through the Tulips Type Beat – Ne Skazhu
This Halloween makeup is super straightforward and really relies on just a few basic principles.
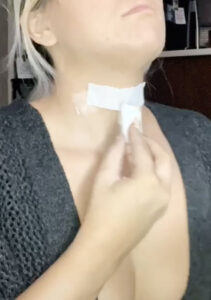
Building fake skin
First, you want to build up the fake layer of skin. One of the easiest ways to do this is by laying down a layer of liquid latex where you want the wound to be, then adding a thin layer of tissue on top of it. I usually take a normal Kleenex and pull it apart so it’s only one ply.
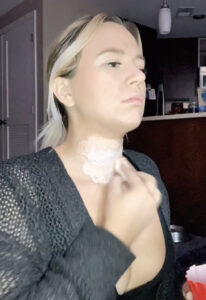
Then, use your makeup sponge to add another layer of liquid latex on top of the tissue you just placed. Once the tissue is entirely covered in latex, even around the edges, lay another piece of tissue down on top of it. Continue to layer latex and tissue until your fake skin has reached a good thickness — the thinner it is, the more realistic, but if you’re inexperienced or doing this on a place that’s more vulnerable like your throat, I would build it up fairly thick so you don’t accidentally cut yourself when ripping the wound.
A few more tips about building fake skin:
- Give your layers a bit of time to dry in between adding them. You’ll know it’s dry when the latex is no longer tacky and is a little darker than what it was in the bottle
- Rip up your tissue pieces so the edges are rough — this helps it look more natural and blended into the skin
- If you notice any harsh edges where you’ve built up too much latex and tissue in one space, lay a thin piece of tissue over the edge, bridging the part where it’s built up and your bare skin, and add more latex to blend it better
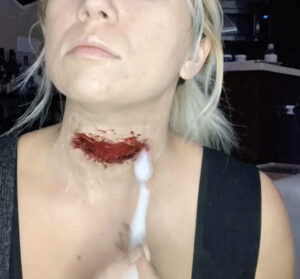
- If you want to build up thickness in an area faster, rip up a cotton ball and use that in place of the tissue — I did this in the center of my cut just to protect my neck a little more when poking through the latex
Making the cut
Once your layer of skin is built, it’s time to make the cut. If you’re doing this on your neck, this is how you achieve that slit throat makeup. Or, you could do it around your mouth for a chelsea smile for halloween. Basically, you could apply this look anywhere on your body to make a realistic looking fake cut.
In order to cut the fake skin and not your real skin, you have to be very careful and work slowly!
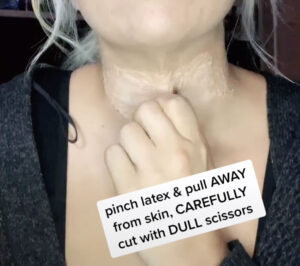
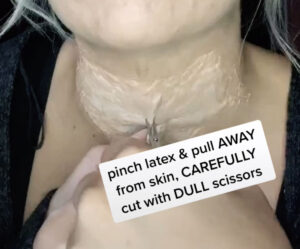
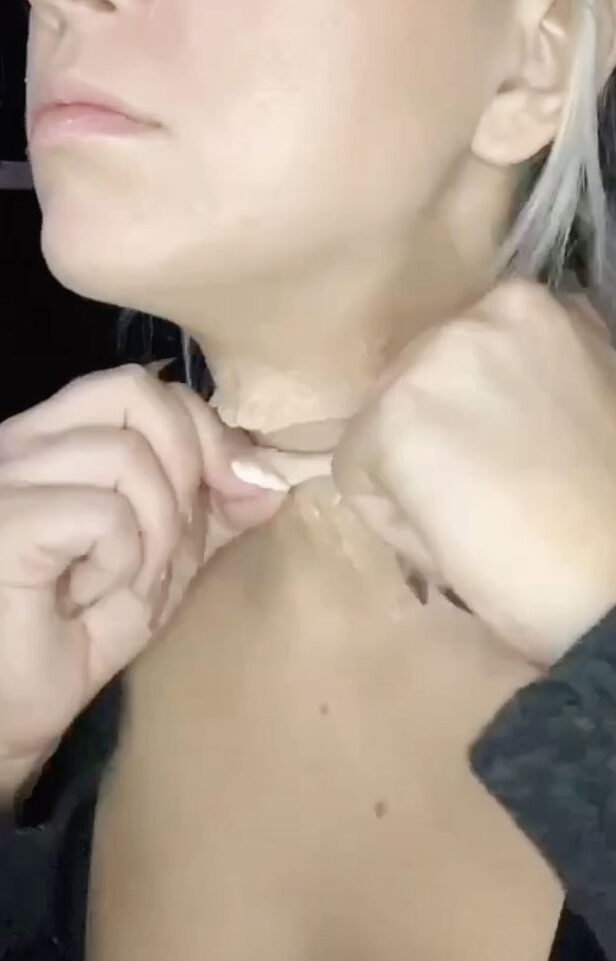
What I like to do is pinch the center of the latex skin between my fingers and pull it away from my real skin. This can take some work, so seriously, be careful and make sure when you pinch the latex together, you’re not pinching any real skin at all. I highly recommend practicing this step somewhere simple, like on the back of your hand, before you go with the full slit throat makeup.
When I’m sure I have only the latex pinched, I then take a blunt pair of scissors — usually nail scissors — and cut a small slit in the latex layer.
Not to sound like a broken record here but I’m not about to be held responsible if your slit throat makeup gets a little too real so seriously, go very slow and be very careful. Get an adult to help! Get a friend to help! Don’t be stupid!
Once you have the tiny slit cut, use a blunt object like a makeup brush or the back of your tweezers to poke in the hole and lift the latex away from the skin in the area you want the fake cut to be.
Then, take your scissors and carefully cut the edges of the initial slit in each direction to make the full wound. I like to sometimes cut a little excess latex from the edge to make the wound a little larger and more visible as well. Pro tip: pulling on the edges of the cut latex can make it stretch out and roll away from the face in a perfectly creepy way — think of it like stretching the hem of a cutoff tshirt!
Making it realistic
This is the best part in my opinion and what brings the whole slit throat makeup look together.
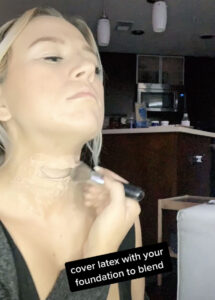
First, since the latex you used likely isn’t going to dry the same color as your skin, take some foundation on a brush or sponge you don’t really care about (in case any of the latex is somehow still tacky, you don’t want to ruin a brush) and go over the latex so it blends with your skin better. Make sure to get the edges of the lifted “skin” too!
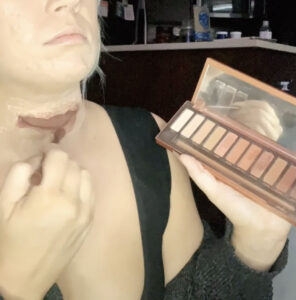
Then, I like to fill in the area where my wound is with a dark red eyeshadow. This doesn’t have to be perfectly opaque, just enough to add a base color behind the blood. Some palettes I like and use for this in low, mid, and high budgets are:
When you’re doing this part, make sure to bring some of the redness up to the edges of the fake skin and around the area where your wound is too in order to make it look more realistic.
Then, add your scab blood. Scab blood is one of my all time favorite SFX makeup products. This is the sticky stuff that stays in place and looks wet, gory, and bloody all night. It’s perfect for filling fake cuts and wounds like this.
I personally like to take a crappy plastic palette knife and use that to apply it, but you can use any cheap makeup brush, plastic silverware, q-tip, whatever you have — just know that it’s a pain to get the scab blood off it!
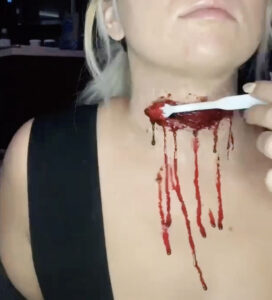
When the scab blood is all filled in, I then like to add drips with stage blood. This stuff is also incredible — it’s so realistic, it doesn’t stain clothes, and it’s safe to get in your mouth too (it tastes like mint!). Like the scab blood though, it does get a little sticky so be careful where you put it.
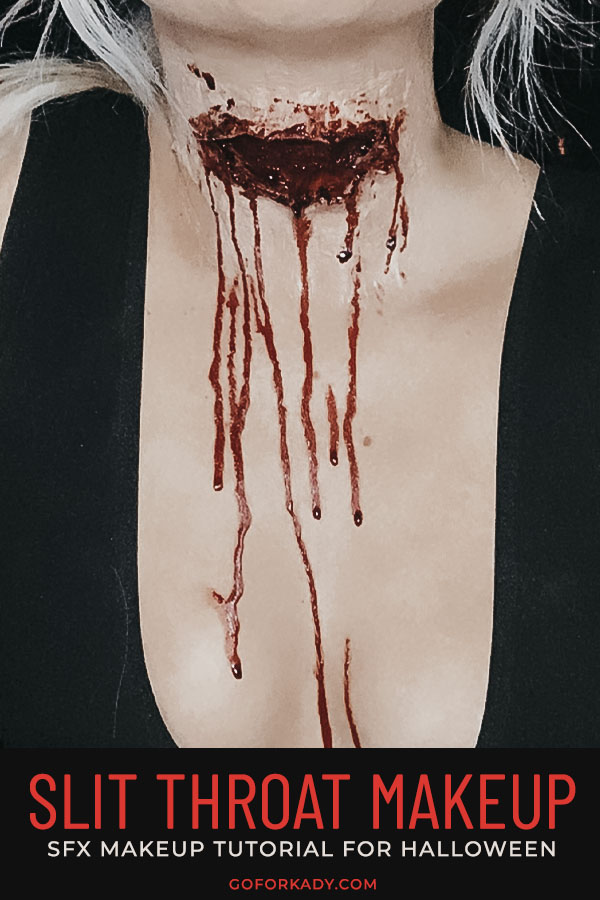
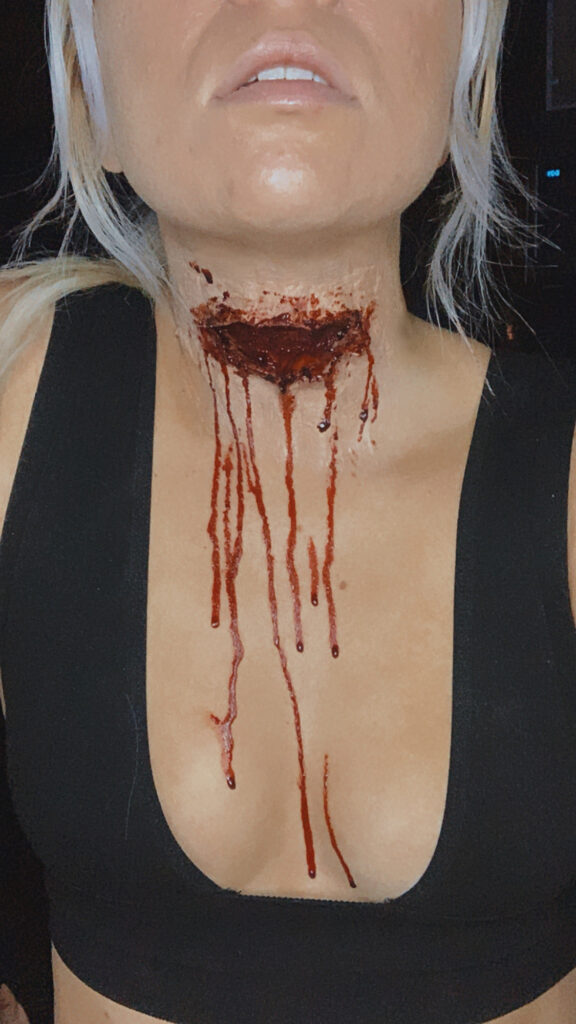
When that’s done, you have totally realistic slit throat makeup! You could definitely leave it at that, like I did in the images below.
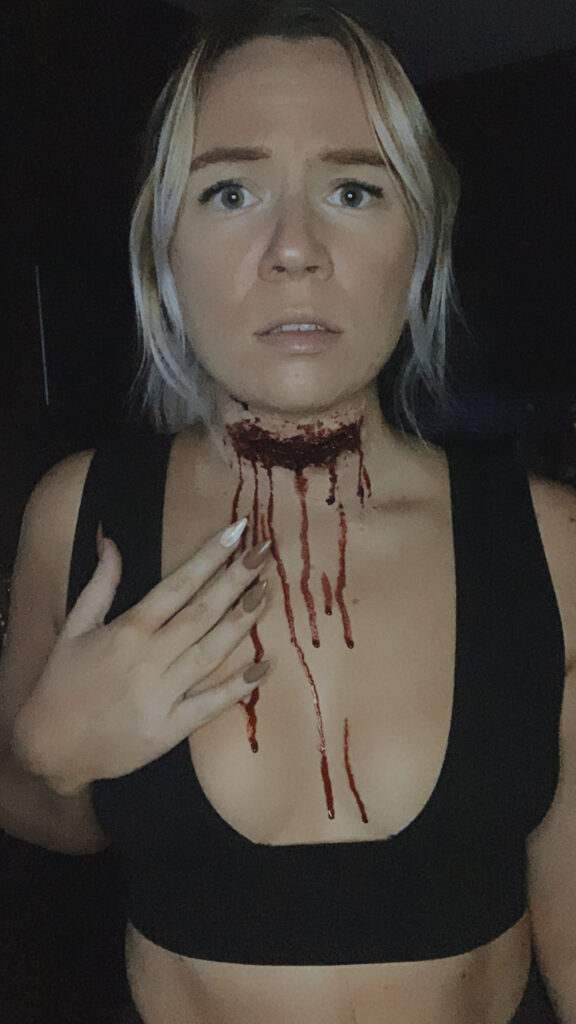
If you want to take it up a notch though you can also poke holes in the fake skin and weave twine through them, like your neck was sewn shut. I did this look last year for Halloween and loved it! You could even do the same look on your mouth for a “mouth sewn shut” halloween makeup look.
I hope this post helped you learn my easy way of doing gory, creepy slit throat makeup for Halloween — or just how to make any fake cut at all!
If you liked it, share it on Pinterest or save it for this Halloween!