It might be August, but the best time of year is right around the corner: Halloween. Halloween is my absolute favorite holiday; as a creative especially, I love everything about it, from halloween makeup looks to coming up with costumes to binging scary movies. For years now, I’ve been putting together easy skull makeup for halloween. I think I probably started with some half face sugar skull halloween makeup way back in college, but ever since then, I’ve practiced my skill and tried to go bigger and spookier with my halloween look each year.
My favorite part about doing skull makeup for halloween is that it’s such a high impact look but can be super easy and affordable to achieve. Best of all, you can save money on a costume because you can wear whatever you want with it — the costume is you!
This post may contain affiliate links, meaning I may receive a small commission if you shop through these links at no extra cost to you. For more information, check out the disclaimer here.
While I think that halloween is going to be a little different this year, I wanted to teach you guys how to do easy skull makeup that can make an impact however you celebrate, whether it’s in person and socially distanced, or you’re having a Zoom halloween party.
I also love doing a simple skeleton makeup look because it’s so versatile! It’s a great halloween makeup for guys and girls — completely gender inclusive, cause we all have a skull. Or, once you learn how to do it, you can do a chic half face halloween makeup look and go spooky on one side, glam on the other.
What you need for easy skull makeup for Halloween
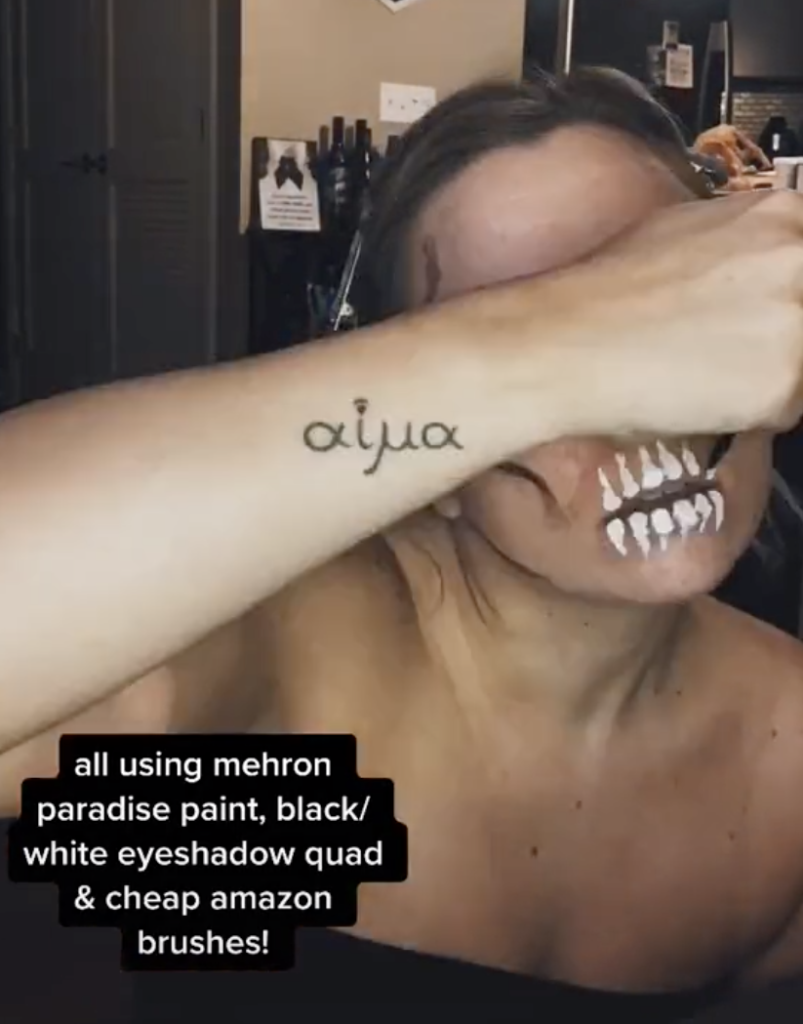
This halloween makeup look is one of my favorites because it’s really affordable and accessible. It only takes a few items to get this super spooky, easy look, and you probably already have most of them already. Here’s exactly what I’ve used to do my skeleton makeup for years:
A few notes on the Mehron face paints: They are water-activated, which makes them super easy to use and even better to clean up, however they do not have the longest staying power. They are also very affordable, high quality, do not crack or chip away on the skin, and the pan lasts forever — I’ve had mine for years and they still look new.
- Black and White eyeshadow (I use this exact old eyeshadow quad from Elf, but truly any matte black and white eyeshadows will work — this LA colors palette looks like another good option, and Morphe and ColourPop also make great shadows I love!)
- Cheap makeup brush set (I use this exact set, but if I were to make another purchase I’d probably grab an additional set of just eyeshadow brushes like this to help with blending. The flat brushes are going to do the most work here as far as filling in a lot of space and drawing the main shapes, so make sure whatever set you get has enough of those! I also find a shadow switcher really helpful when dealing with black and white like this.
- Black liquid eyeliner (this liner is a bit of a splurge, yes, but if you’re in the market for a black felt tip liner in general, this one is truly the best and it won’t get ruined if you use it for this halloween makeup) — there are good drugstore options too though!
- Black pencil eyeliner — this from NYX is a classic, but for a long term investment I’ve always loved these liners as well.
- Setting spray (this is my absolute FAVORITE, plus it smells amazing). I’ve also heard fantastic things about this Ben Nye spray, which is made more for stage/sfx makeup, and for a drugstore option this from elf is great too!
- Fake lashes aren’t necessary but are def a fun touch — I like these for a more natural look, and these for a little more volume.

How to do easy skull makeup for halloween tutorial
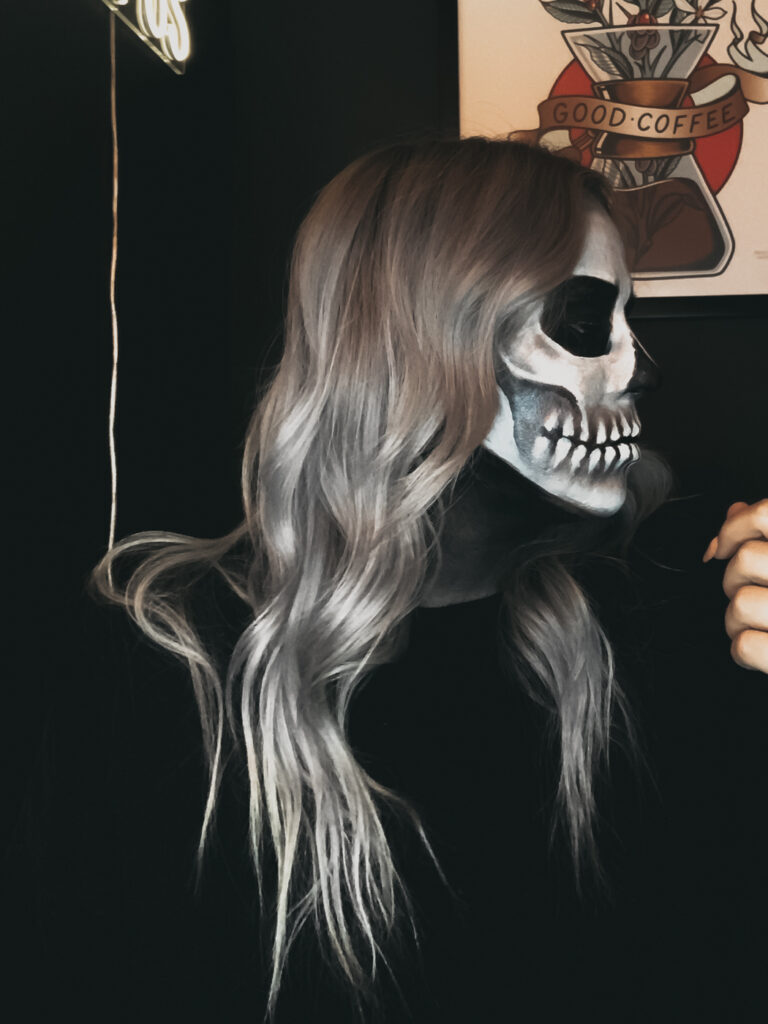
The first thing I do when I’m trying to paint my face like a skull is, well, feel my skull. The highest-impact part of this halloween makeup is in the jaw and teeth, and drawing them to fit your face is important. Feel around your cheeks, open and close your jaw, and get an idea of how where your bones would be if you didn’t have skin there. Creepy, yes, but very halloween.
I’m a creative person, but I’m not exactly an artist. I personally think the number one way to make skull makeup easy is to draw it from a photo reference. I always search Pinterest or look at my own old photos to see what I’ve done in the past before getting started.
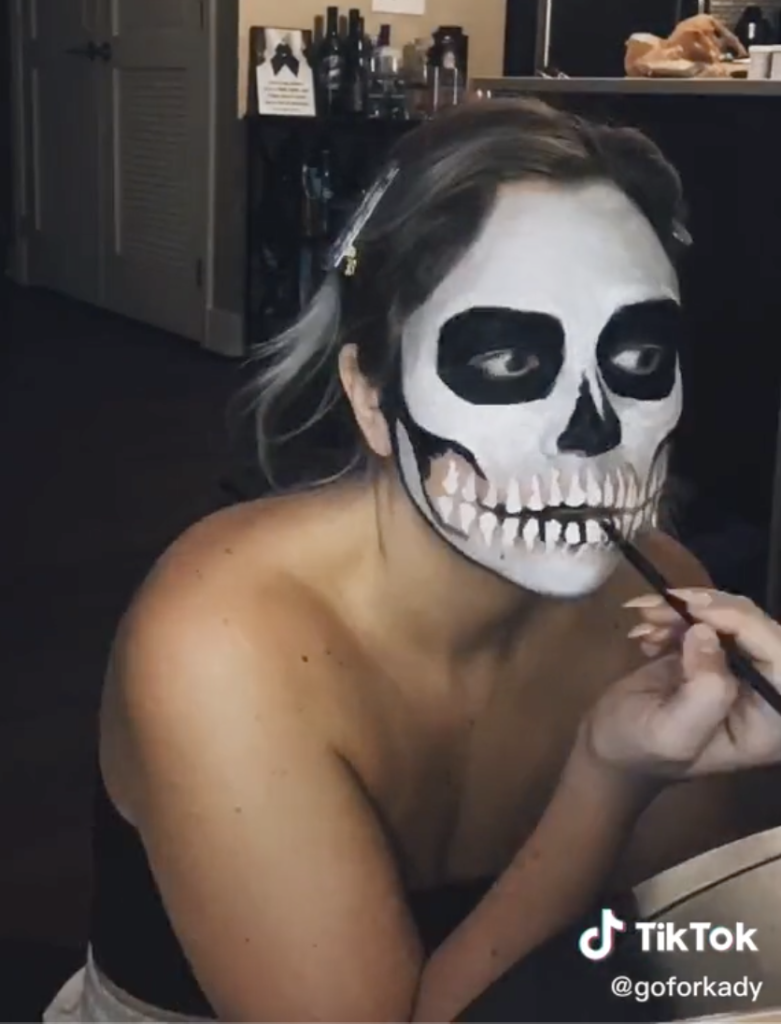
This year, I recorded a time lapse of me doing my skeleton makeup so I could see it all come together and watch exactly how I do it! I’ll put the full tiktok of it at the bottom of this post, but step by step, here’s how I did my skull makeup.
Outline the main portions of your skull makeup in black
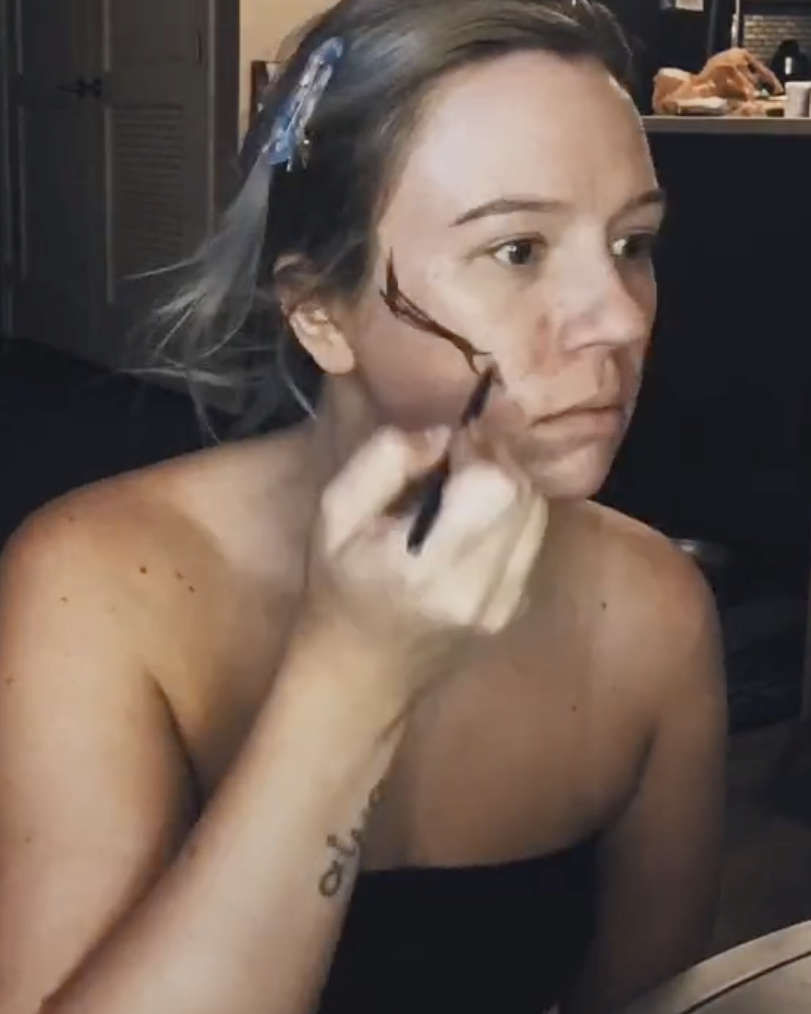
I like to start by taking my black liquid eyeliner or the black Paradise paint on a skinny brush and outline the parts of my face where I know I want all black. It’s a lot easier to add black over white than it is to add white over black later, so I find doing it this way just gives me a good road map for what I’m doing. I typically like to outline my jaw/cheeks, eyes, and nose.
For my jaw, I draw something kind of like an elongated S shape, with one end meeting up vertically in my hairline and the other end stopping with a vertical line about a half an inch out from the edge of your lips. I swear it’s easier done than it is to explain!
For my nose, I basically draw one or two triangles with spidery points that taper up towards the bridge of my nose. I make sure to draw the triangles fairly wide; most of my nostrils should be black when all is said and done.
My eyes and brows take up a good portion of real estate on my face, so I basically just block them all off in a rounded square shape. I try to subtly lift the top outer edges of the shape to give them a mean look, but this can be done with shading too so I’m not too worried about it.
Draw the teeth
The centerpiece of any creepy skull Halloween makeup is the teeth, and I like to build my entire look around them. Fortunately, they’re super easy to do.
There are two different philosophies to building teeth depending on how you like to build your skull makeup for halloween. You can either start with white teeth or starting with black outlines. Personally, I like to start with white to give me a good base, knowing that I’ll add enough shading later to connect the white of the teeth with the white of the surrounding skull without losing definition.
Start with a flat packing brush like you’d use to apply a shimmer eyeshadow. Dip it in the white paradise paint and hold it parallel to your face, stamping it on your lower lip directly over where one of your bottom teeth would be — almost like you’re trying to cut a crease. The round brush mimics the shape of the tooth perfectly so you don’t have to worry about drawing it freehand.
Then, draw a long triangle shape down from the bottom of the tooth, meeting at a point in the middle of your chin. This is the long, spooky root of the tooth. It’s ok if this is jagged and gross — the creepier the better!
Flip the brush upside down and do the same thing for the top tooth directly above the one you just made. Then, follow your actual teeth as a general guide, building equally on each side until you get halfway to your cheek. It’s super important to draw your teeth equally — ie, when you do one on the right you go back and do one on the left — to prevent your face from getting weird and wonky.
Fill in the large portions of color
This part is pretty self explanatory, haha. Use the big flat foundation brush and black Mehron paint to fill in your eyes, nose, and under your jawline (I personally cut my jawline a little sharper for this because I have a face like the moon). I also fill in the outer section of the hollow of my cheek with black until I get close to the teeth. We’ll finish the rest of that with eyeshadow.
Cleaning the brush, I then dip into the white paint and fill in my forehead, around my nose, and the bottom of the jaw bone. I try to be really careful at this point and start running it up in between the triangles of the teeth, as well. I like to do this with a little less product on my brush so I don’t mess up the definition of the teeth, but again we’ll fix all of that with shading so it’s not too big a deal.
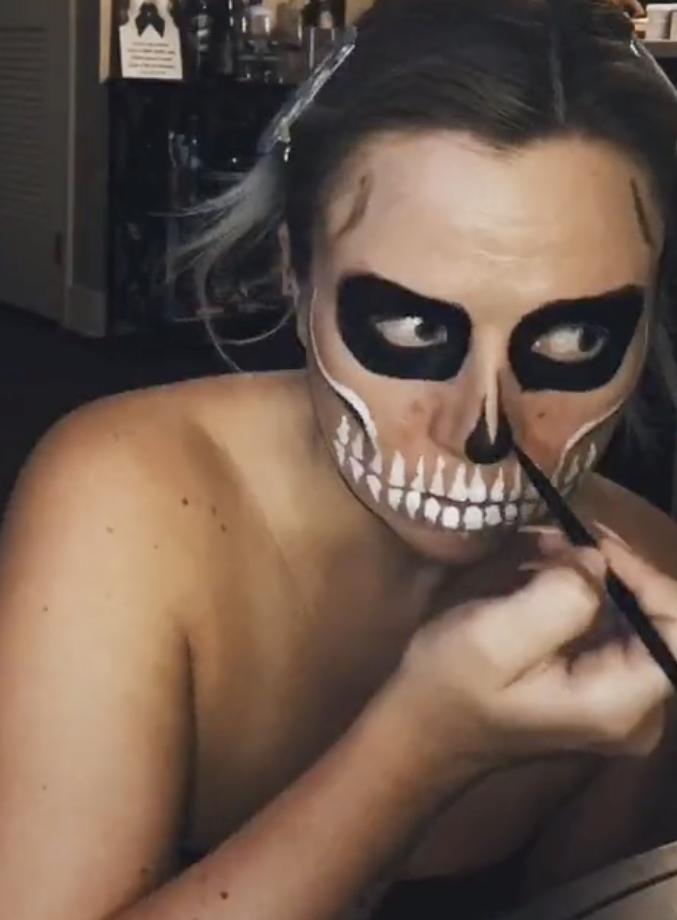
Final detail work
I know it seems early to be doing the detail work, but who cares. At this point, I like to take my black pencil eyeliner and go in close around my upper and lower waterline to make sure none of my skin is showing around my eyes. Then, I set the entire black eye area with shadow.
With my liquid liner, I’ll go over the nose and make sure all the edges are sharp. I’ll set that with shadow too.
Finally, I’ll take the liquid liner and use it to lightly fill in black portions on my lips between my teeth. I don’t want to get too close between the teeth horizontally, but it’s really helpful between the top and bottom rows to create the illusion of darkness behind the teeth.
Shade shade shade
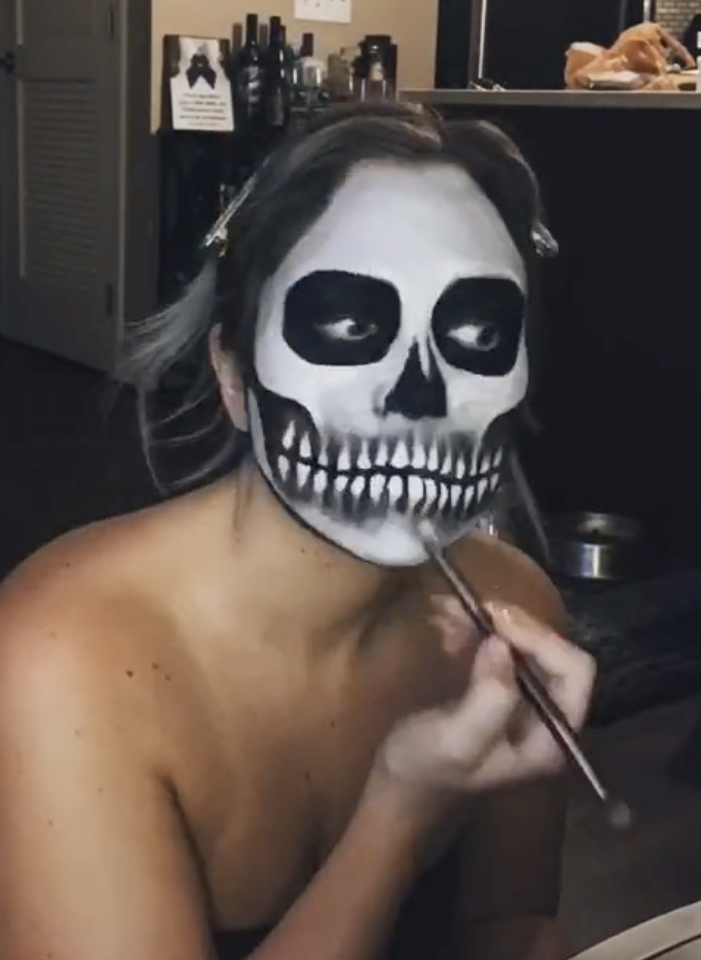
This is where the whole skull makeup look comes together. Using your black and white eyeshadows, we’re gonna shade the crap out of this skull until it looks real. This is probably the one thing everyone slacks on when doing skull makeup, but it’s honestly the easiest way to take your halloween skull makeup to the next level.
Taking a tapered fluffy brush, start running black eyeshadow between each tooth, making sure the color is darker in the area directly between the teeth and blended out softer as you get towards the center of each tooth. If you overdo it, take some white shadow or more white Mehron paint and re-define the tooth where you need to.
Once you’ve taken the color between each tooth, blend it out to meet the white areas below your nose and in the middle of your chin. Continue to blend until you get a seamless gradation of color that looks like a shadow. In the hollows of your jaw, use the same fluffy brush and black shadow to blend the black area into your teeth, making it look like the teeth are sitting behind the edge of the jaw. Is it anatomically correct? No. Is it spooky? Very!
On a smaller fluffy brush, and using just the lightest whisper of black shadow, add little detail areas throughout the skull. I like to add small shadow lines around the outer corners of my eyes and near the top and bottom edges of my jaw.
Finally, take your big fluffy brush again and use black shadow to shade around the edges of your face like you’re contouring. It’s the same concept as regular makeup, except with skull makeup for halloween.
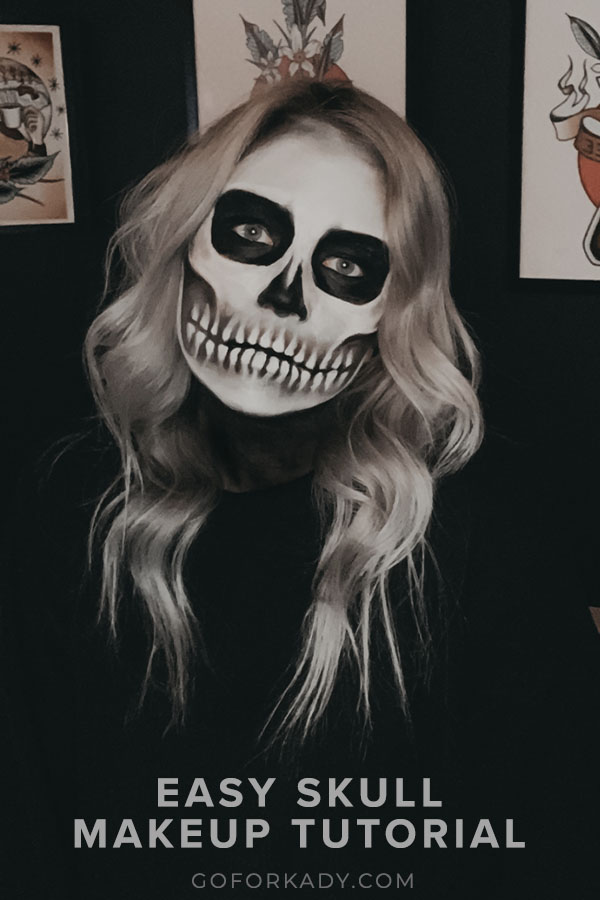
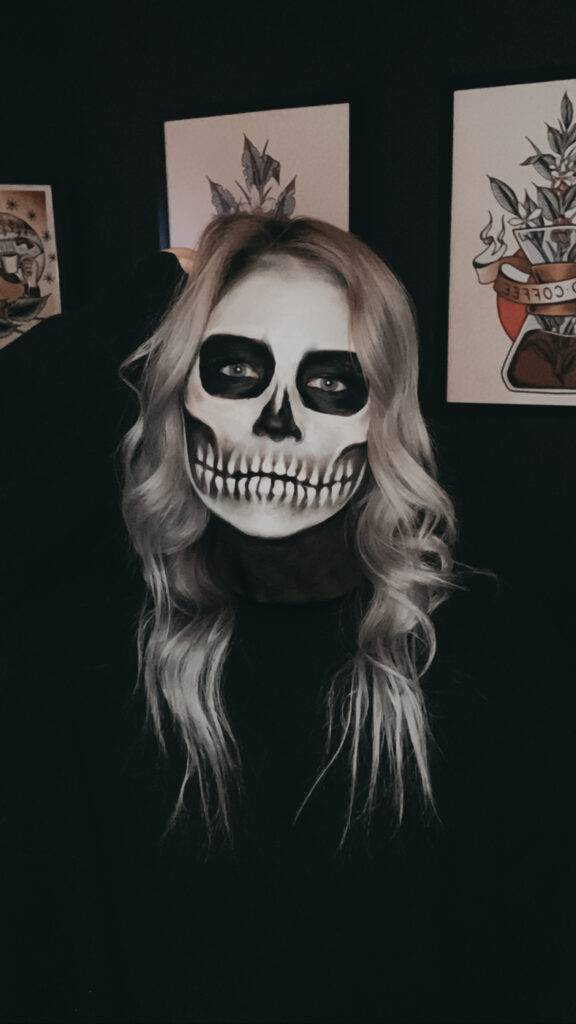
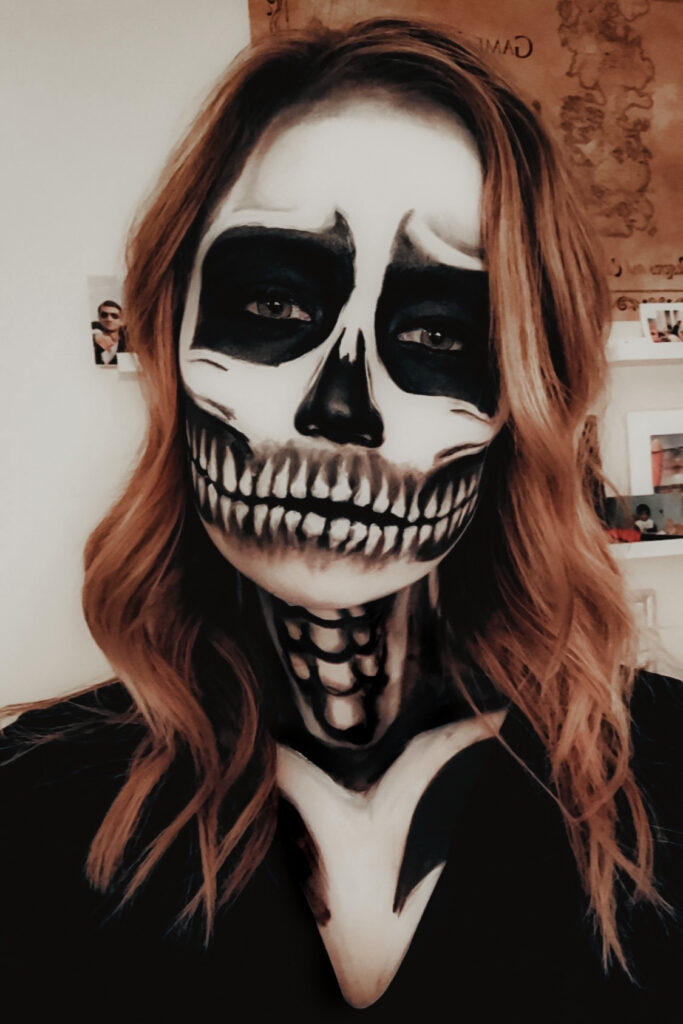
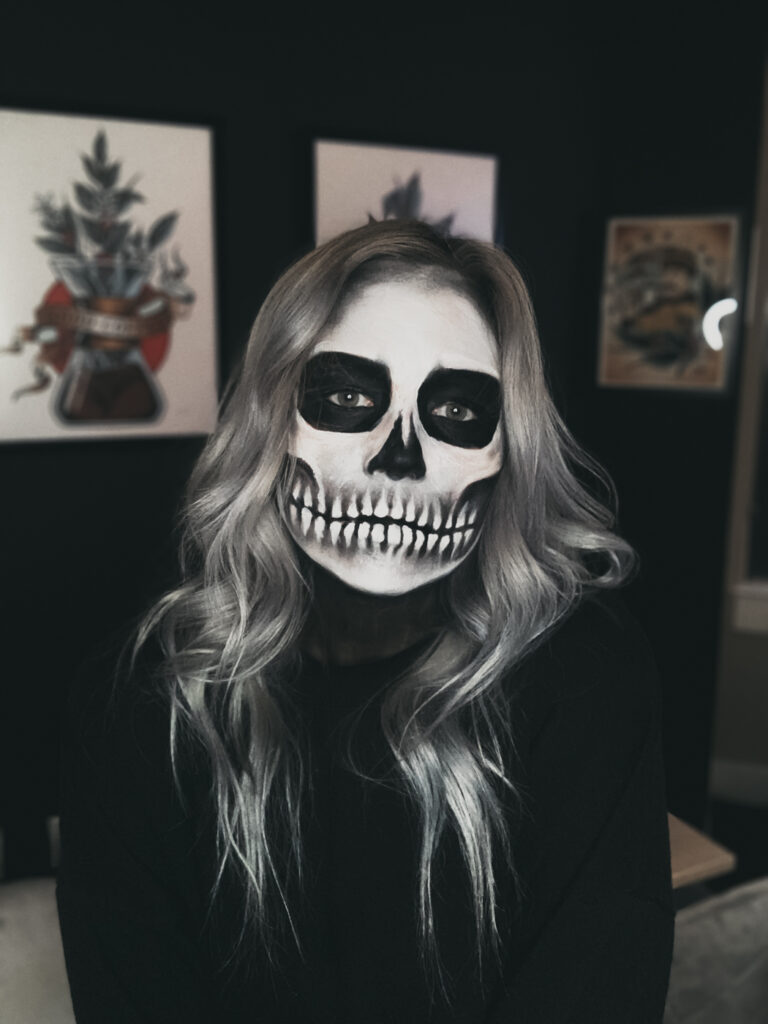
Make sure your skull makeup lasts all halloween night with a setting spray, and you’re good to go! Here’s the finished skull makeup look!
I personally love to finish off the outfit by wearing all black! Here are some of my favorite pieces to wear with skull makeup to make for a super easy complete halloween costume.
If I’m doing my full neck and chest, I love to wear a black bandeau to show off that work. But if I’m just doing my face makeup, I’ll usually just wear a black long sleeve shirt and my favorite leather leggings! I’ve linked all of my favorite all-black clothing items for Halloween below:
Skull makeup for Halloween video tutorial
@goforkady time isn’t real it’s spooky szn if i want it to be ##spookyszn ##halloweenmakeup ##fyp ##spookyseason
♬ Devil in Disguise [feat. Elvis Presley “(You’re The) Devil In Disguise”] – LLusion [TikTok Remix]
I do skull makeup every halloween and I promise you can too. It looks so much harder than it is, but with practice and lots of photo references, you can do amazing skull makeup for halloween on yourself, I promise.
Here are a few skull makeup looks I’ve done for halloweens in the past
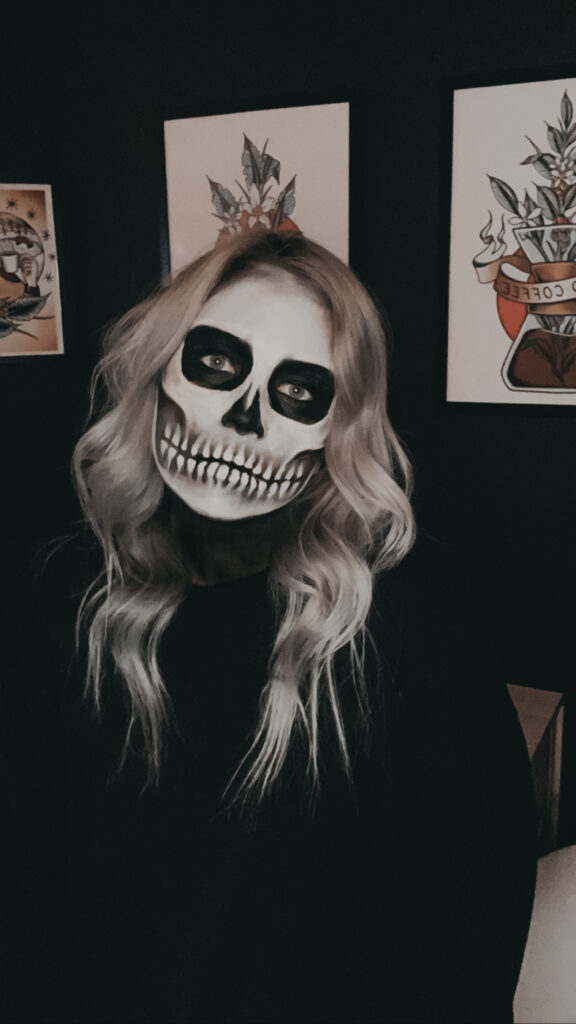
In 2021, inspired by the popularity of this post I had to bring the look back and throw some skull makeup together for one night of halloween weekend.
In 2019, I actually went with more gory SFX makeup (which I’ll definitely do a post on soon!). But I did some super quick skull makeup for the guys as well!
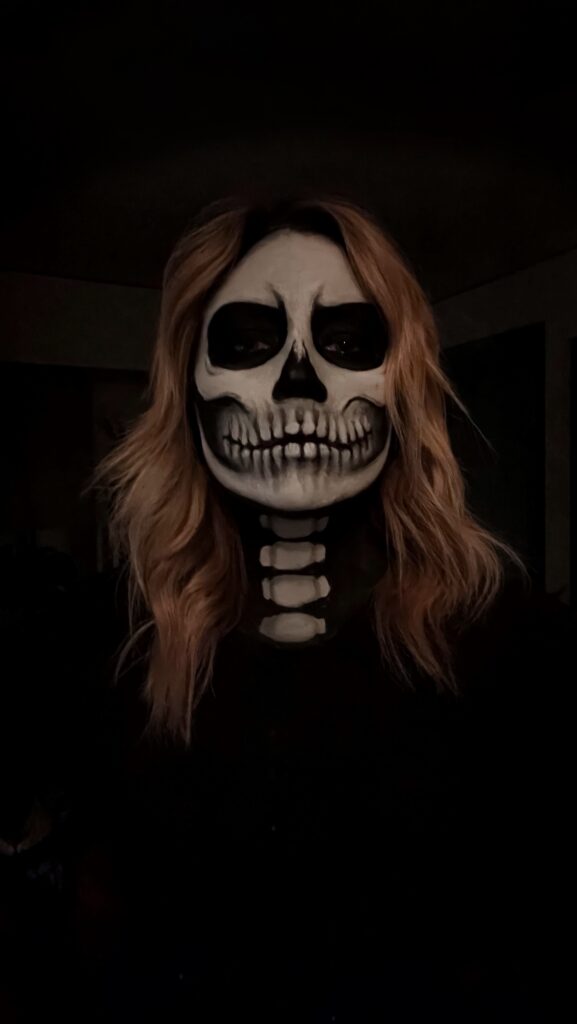
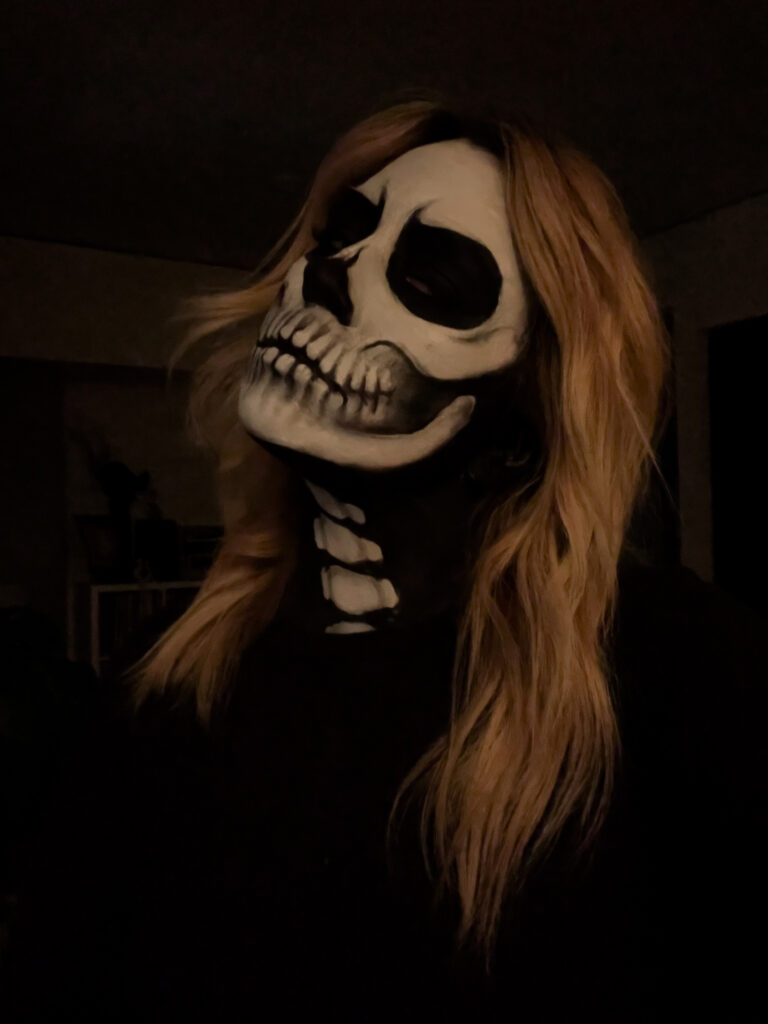
Back in 2017, I went all out with my skull makeup for halloween. I took the color down onto my neck and chest, drawing a spine and clavicle for a full on skeleton makeup look.
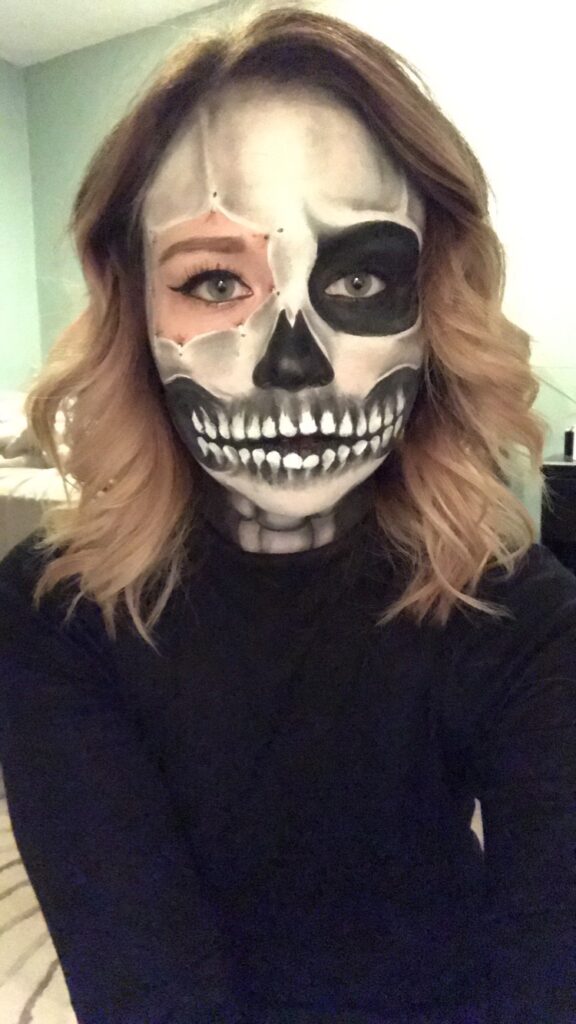
In 2016, I went for a combination of half glam half skull makeup for Halloween, featuring fake staples and a cutout around my eye.
This isn’t even the oldest or ugliest skull makeup I’ve done, but it’s the farthest back I have online (I think!). This “skull” makeup for halloween, if you can call it that, was back in 2014.
Let’s get back to the good stuff haha. Here are some more shots of the finished skull makeup for halloween 2020.
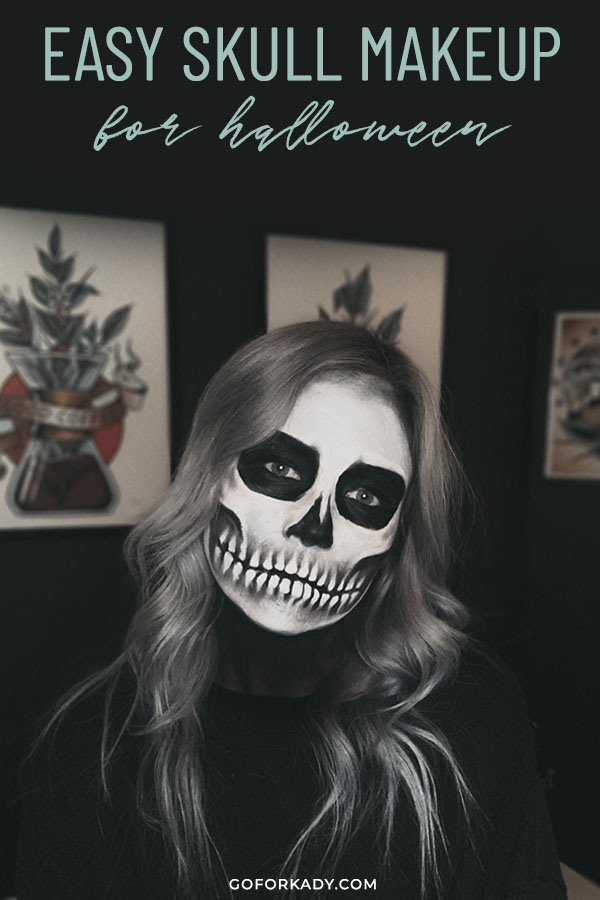
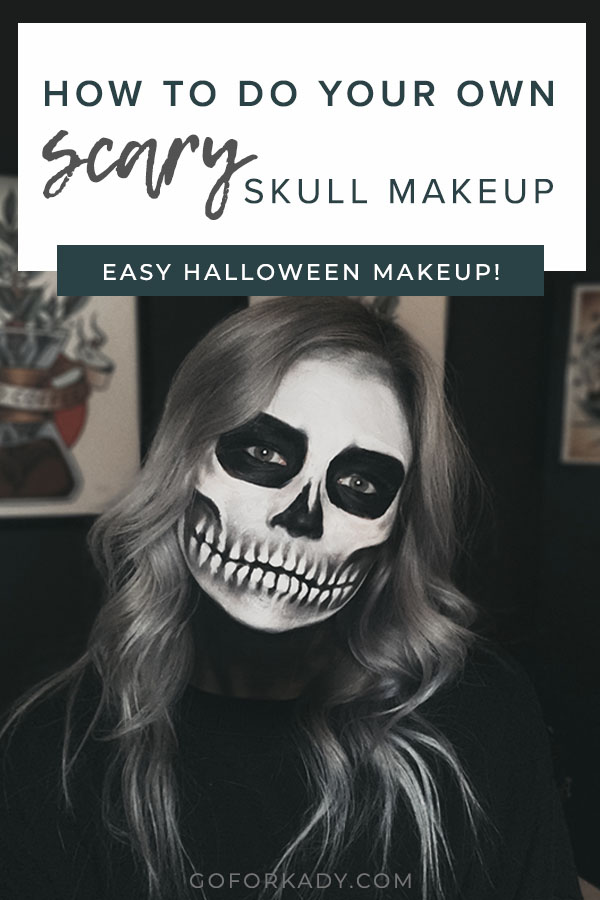
I hope this tutorial helped you learn how to do easy skull makeup for halloween! And if you liked this tutorial, pin it for this halloween or next!
Ready for spooky season? Check out these other fall blog posts!
- 10 Cute Fall Outfit Ideas
- All the Best Scary Movies to Stream for Halloween
- 9 Fall Wardrobe Essentials
- 42 Adorable Fall Fashion Finds Under $100