Hi friends! This post may contain affiliate links, meaning I may receive a small commission if you shop through these links at no extra cost to you. I wouldn’t recommend a product if I didn’t use it and love it, so you can shop safely! For more information, check out the disclaimer here.
For the last couple years, I’ve been getting lash extensions from a local artist here in the DC area. As someone who has naturally very short, light eyelashes, and who’s terrible at applying strip lashes, lash extensions have become an integral part of my beauty routine and are personally an investment I find very worth it. Lash extensions are probably the easiest and fastest way to look prettier, to be totally honest! I always feel so much better about myself when I have them and I really do feel like they make me look beautiful even when I’m not wearing makeup.

During quarantine though, I, like everyone, have been locked down in my house. I’m immunocompromised, and even now that restrictions have loosened in my area, I’m still skeptical about going out. Especially because lash extensions aren’t cheap, and it doesn’t seem to make sense to spend money on something when I won’t even be seeing anyone who will enjoy it!
So in the meantime, while we wait for life to go back to normal, I decided to try and look into a way to give myself more permanent and longer lasting lash extensions at home. After some quick googling, a run to CVS and some trial and error, I think I’ve honestly found the best and cheapest way to do my own lash extensions! These drugstore lash extensions literally cost me less than $20, and in my opinion are just as comfortable as real lash extensions done by a professional.
To be up front: these are nowhere near the same as actual lash extensions done by a lash artist. Their tools are much more specialized, and they are way more time consuming, with a longer lasting and more natural appearance.
However, this alternative is affordable and accessible, and in my opinion works great for a bunch of applications. I’ve been doing my lashes like this for the last couple months in quarantine, and they’ve been a great confidence boost, especially when I’m spending every day laying around in sweats.. They’d be perfect for a music festival or short vacation, when you want the look of lashes on the cheap but don’t want to apply strip lashes every day.
Without further ado, here’s how to do your own lash extensions at home!
DIY Lash Extension Supplies
For the sake of convenience, I wanted to make sure I could get everything I needed for this at the drugstore. If you’re still not keen on going out, you can definitely get this stuff online as well — I’ll be linking to the products I’ve used throughout this post.
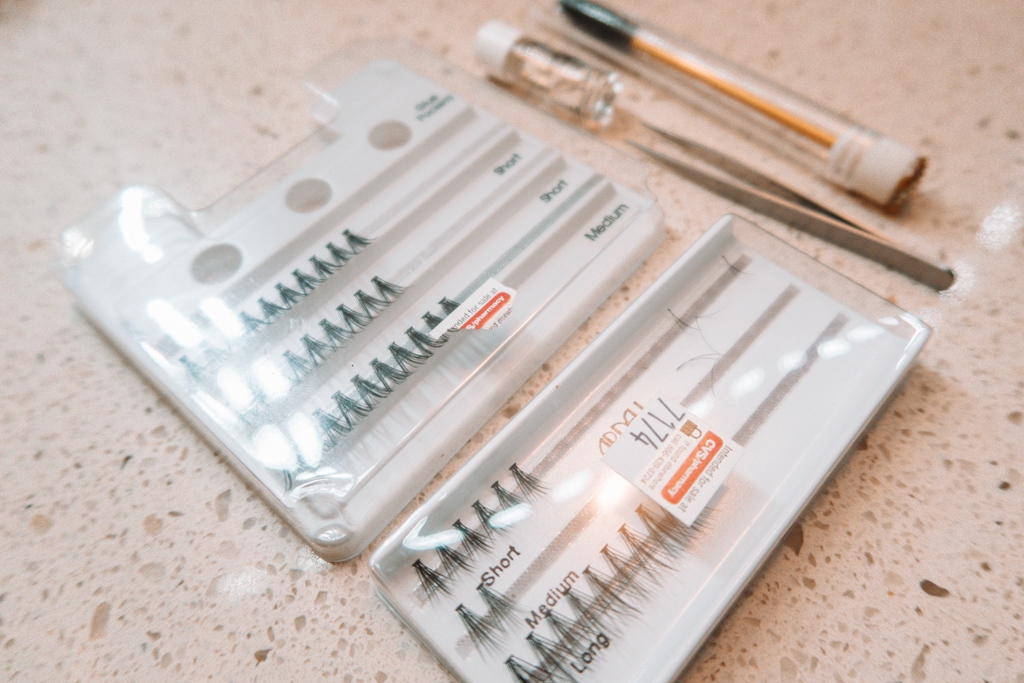
1. Individual Lashes
To start, you’re going to need individual lashes. Unlike your lash artist, individual lashes at home are actually wider fans containing a bunch of individual lashes. You can buy actual individual lashes made for professionals on amazon, but the individual lash sets from Ardell or Kiss are much easier and faster to use, especially for a beginner.
I’ve tried a few different options, but my favorite so far is Kiss Lash Couture Faux Lash Individuals in Venus. For me, the short and medium lengths were perfect. I love the adhesive in the packaging; it’s super clean and doesn’t destroy or distort the lashes when you try to pull them off. They’re also super soft and light.
Before this, I used Ardell Faux Mink Individuals, which I also loved! They were just as soft and lightweight, I just personally found they didn’t have as much of a curl as I wanted. I have pretty small eyes, so I need a solid curl in my lashes to open them up! If you have bigger eyes and want lashes that elongate your eyes, these would be a good option.
My first go-around, I bought the Ardell Individuals Duralash Starter Kit, which I’d recommend to everyone. The kit really does come with everything you need to get started — so many lashes, glue, remover, and tweezers! I still use the tweezers and glue I got from this kit.
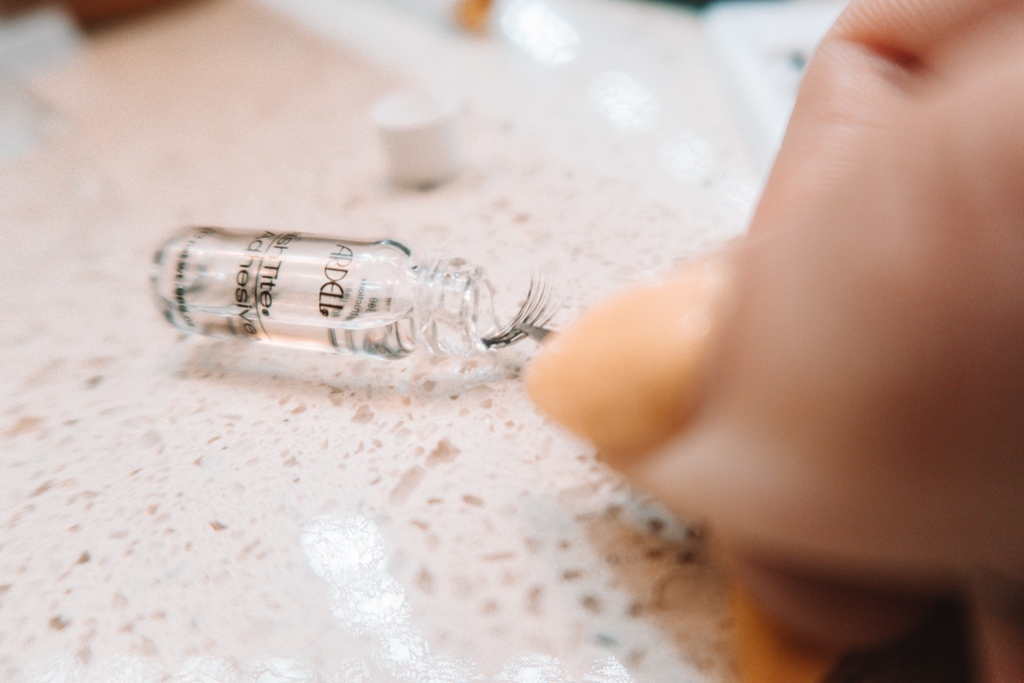
2. Lash Glue
Like I said above, when I started I bought the Duralash Starter Kit, which came with Ardell Lashtite Glue. You need a different glue for individual lashes, one that’s longer lasting and quicker to dry than regular lash glue.
If you don’t want to buy the starter kit, you can get the Lashtite Glue by itself here!
An important note: I would only recommend Lashtite for doing your lashes at home. DO NOT BUY PROFESSIONAL LASH GLUE ON AMAZON! Professional lash glue is a different and extremely strong formulation made for trained professionals, especially people working on others and not themselves. Accidents with professional lash glue can lead to blindness, so please stick to the drugstore stuff!
3. Tweezers
For me, the tweezers that come in the starter kit have been working just fine. If you have a pair of precision tweezers at home, those should be great too!
Otherwise, I’d recommend seeking out a pair of precision tweezers with a more blunt end like this, or special lash tweezers like this very cute set here — when you accidentally poke yourself in the eye (and you will!) you’ll want it to be on a rounded edge!
4. Spoolie
Any clean spoolie will do the trick! I have one that my lash artist gave me that I save exclusively for combing through clean lashes. Here’s a link for 20 of the same ones I have for only $12. Do you need 20 spoolies with crystals on them? Probably not. Aha unless?
5. Magnified Mirror
A lighted, magnified mirror will be your best friend when applying your lashes at home. You’re going to need a ton of light to examine your lashes from all different angles, so the more you can see the better! Here’s the one I use.
6. Eyelash Curler
Finally, this isn’t necessary, but I love using an eyelash curler when I’m done adding the lashes. It doesn’t really add any curl, but it does help them all to mesh together and secure to my real lashes a little better. I use an unnecessarily fancy one from Laura Mercier just because I have it, but any old one (like this v cute rose gold one) will do just fine!
How to Do Your Own Lash Extensions at Home
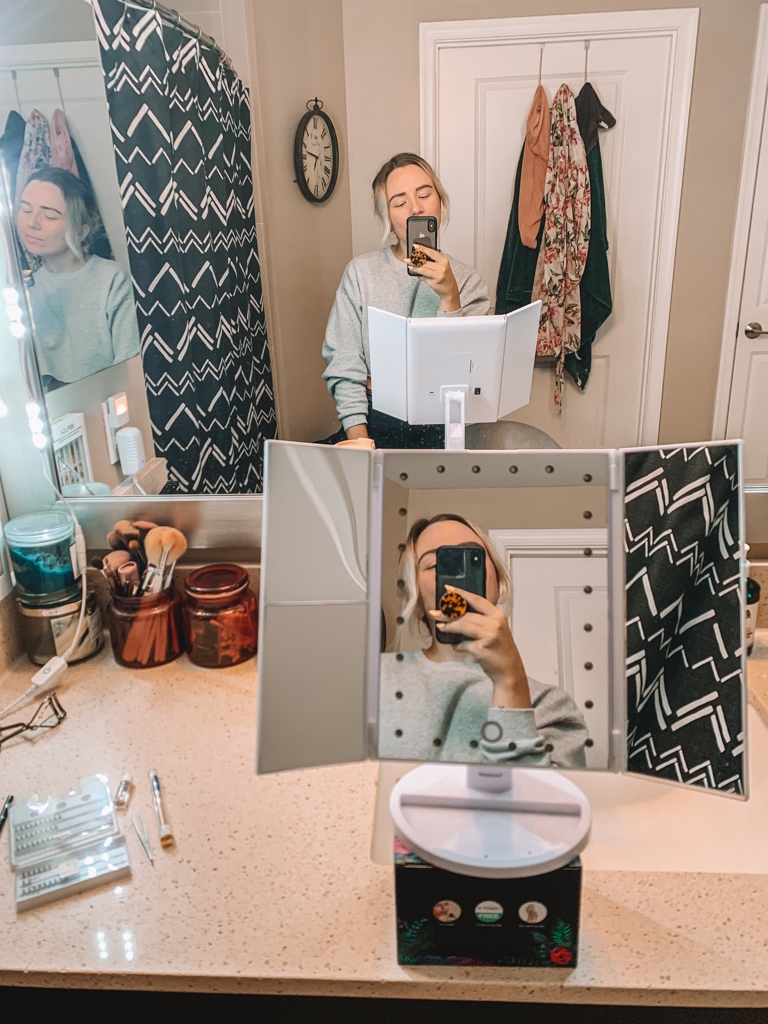
Start off by laying everything you need out in front of you. Turn on your lights as bright as they’ll go, maybe bring a snack, some water, set up your iPad with some Netflix — you’re gonna be here for a minute.
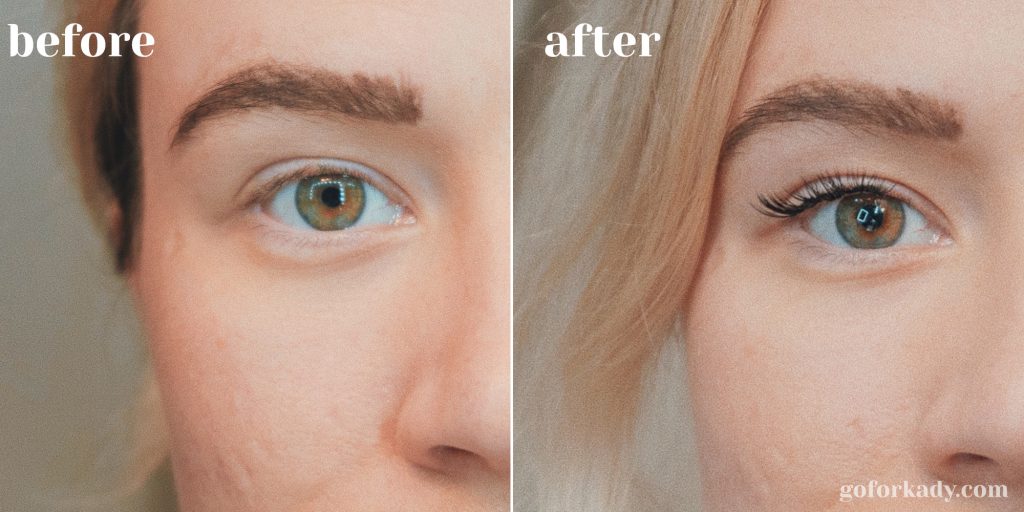
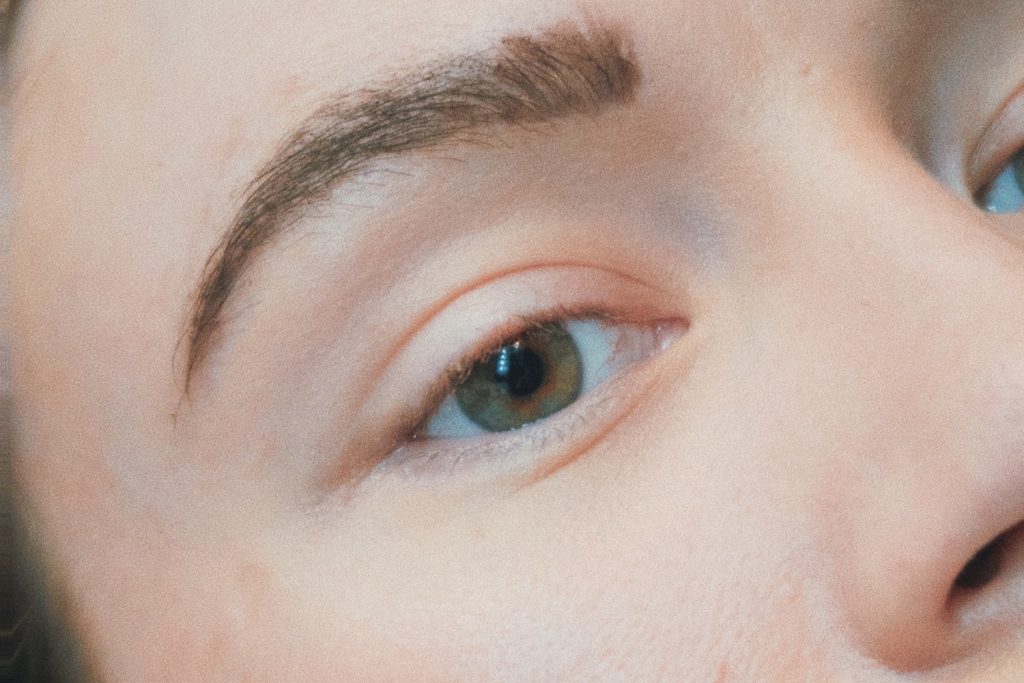
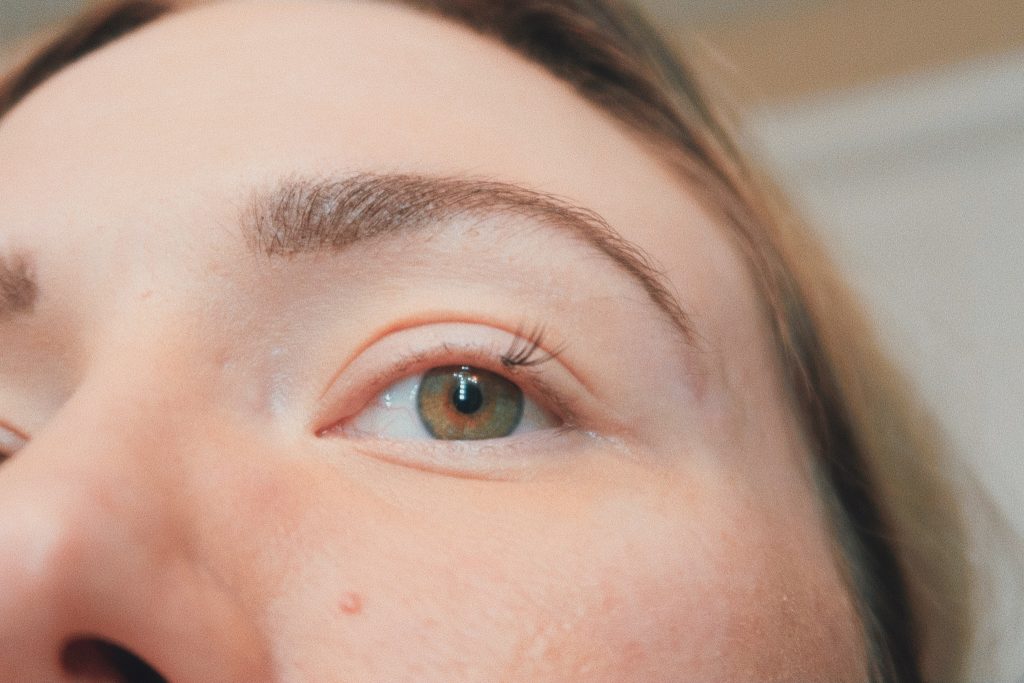
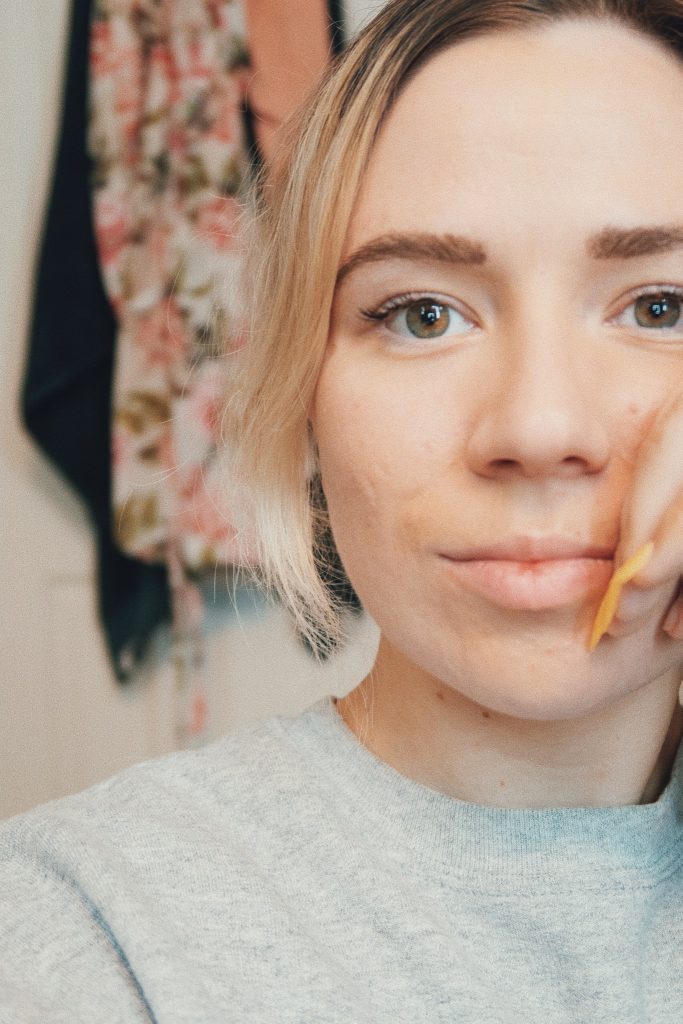
Here are my eyelashes to start: basically nonexistent! As you can tell, I have insanely short, light eyelashes in a few rows on my eyelids. This is why I generally need lashes to function, because without them I do unfortunately look kind of like an adult baby.
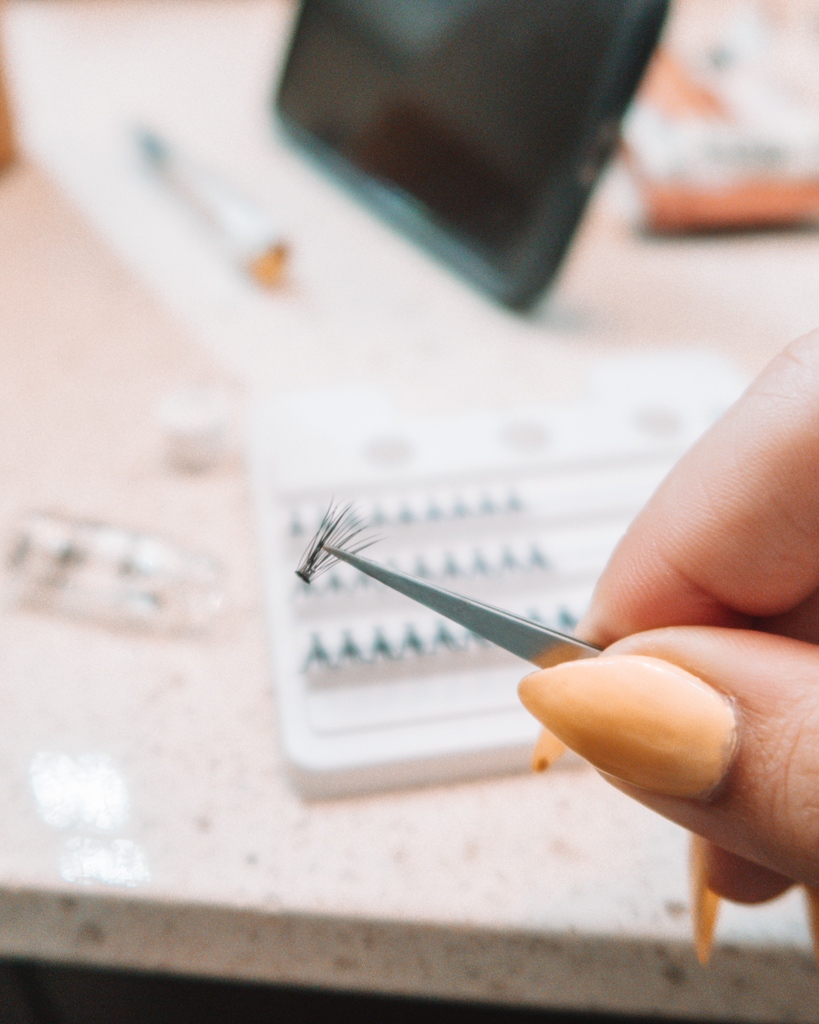
I personally like to start in the middle of my eye. I’ll first open the Lashtite glue and set it on its side — it’s super thick so it won’t run out of the bottle, don’t worry! Ill grab my first lash with my tweezers, and when I’m pulling it off the tray I like to add a little bend to it with my fingertip just to give the lash slightly more curl.
Dip the end of your lash into the mouth of the glue bottle. Don’t go overboard here! The glue dries pretty hard, and you’ll notice if you just have a ton of chunky glue on your eyelid. This stuff is strong and the smell might irritate your eye, so just be careful!
When the tip of the lash has glue on it, I really just take it and lay it on top of my lash line! I try to get it as close to my lash line as I can without actually touching the skin — if you get too much glue on your skin and surrounding lashes, they’ll all stick together and it’ll look not cute and could be painful as they grow and fall out.

And here’s a little gif of me adding some lashes. You’ll definitely have to maneuver a little bit, look at your eyes opened, closed, and from every angle to make sure they’re sitting right, but it’s not too much work! Do not be alarmed if your lashes look weird and dumb at first! I promise they’ll look a lot better when you start to fill them out. Trust the process!
I try to work by alternating eyes, so if I place a lash in the middle of my left eye I then do the same to my right. This helps you get your lashes more even when you don’t totally know what you’re doing or have a plan, like I usually go into this. I like to start in the middle with shorter lashes, then go to the outer corners with longer ones, to the inner corners with short lashes, and then back to fill in any gaps with longer ones.
If you have lighter lashes like I do, the part where your fake lashes meet your eyes might be a little more obvious. To combat that I like to stagger where I place my lashes, laying some directly on top of my lash line and adding some from underneath, or in the middle of my lash line (you’ll know what I mean when you get in there with the magnified mirror!). You can always add a little black eyeliner in your top waterline to help with this as well!
Basically, I just go back and forth, filling out the eye until it looks good. With the lashes I buy, I usually wind up using about 10 short lashes and 5 medium lashes per eye — meaning I can get two full sets out of each box. Sometimes I use even less, and have more for spot-treatment as the lashes eventually fall out.
How long do they last?
For me, I’ve gotten good wear from these lashes for about 7-14 days. They’re definitely very durable, and since they’re so much cheaper than lash extensions, you don’t have to feel bad being a little harder on them. They’ll survive just fine with makeup, water, sleeping on your side, and all those things you’re not supposed to do with real lash extensions.
After that, they do grow out enough that they can become a little loose or cumbersome, and you might want to remove them.
I’ve used the Lashfree Adhesive Remover that came in the starter kit, and to be honest, it burned my eyes like all get out when I was trying to get it on my lash line! I’ve had better luck just washing my eyes with water and a mild face wash, but you could also try an oil-based makeup remover or coconut oil and see if that helps!
More often than not though, my lashes have just fallen off on their own after a week or two.
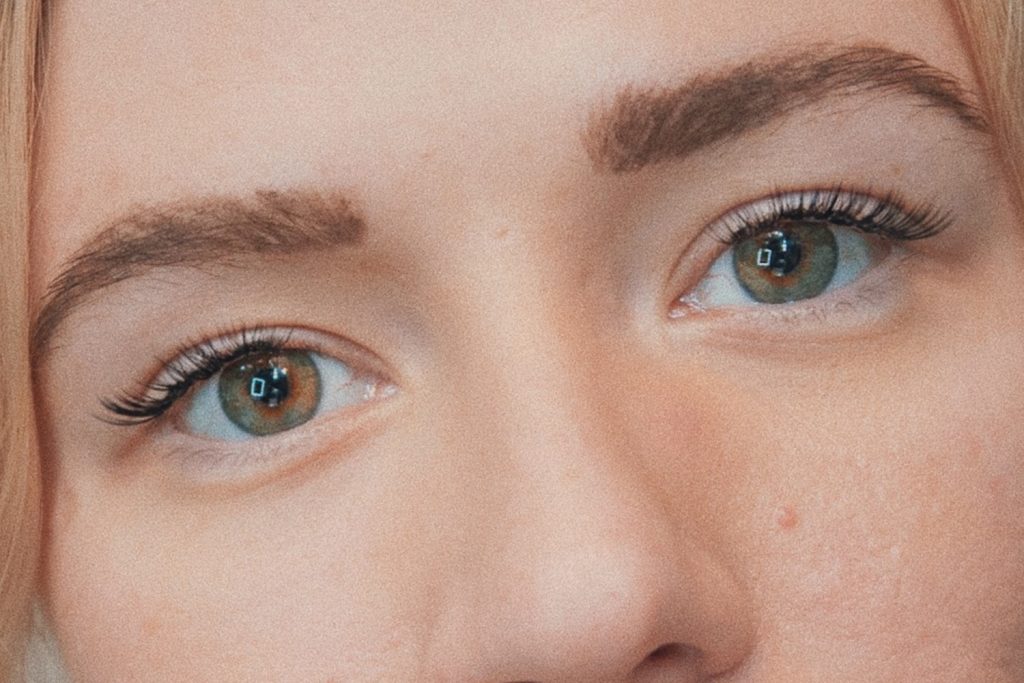
Here’s one last look at my before and after. IMO I feel like they definitely look good enough to get me by in most situations. Honestly I’ll probably keep this go-to in my back pocket for after quarantine is over too!