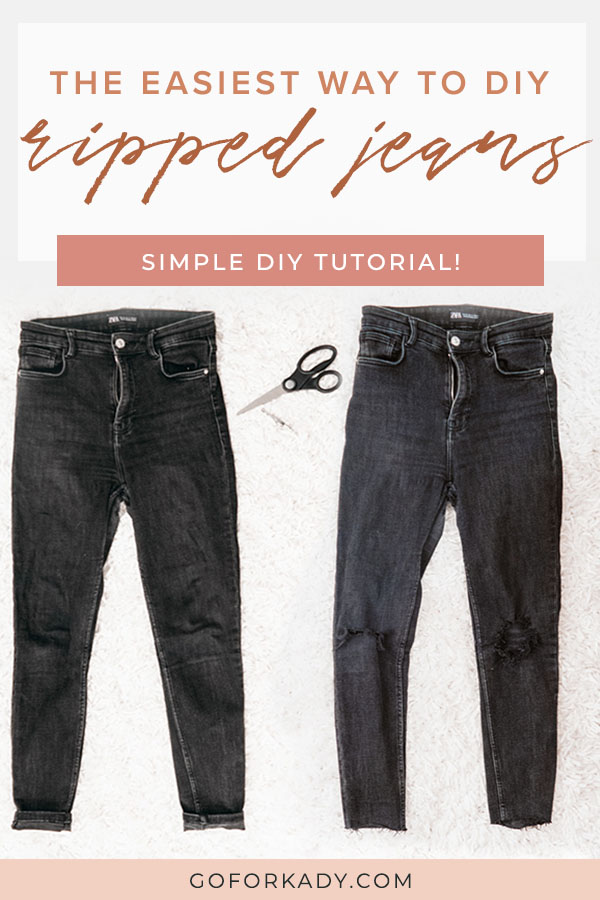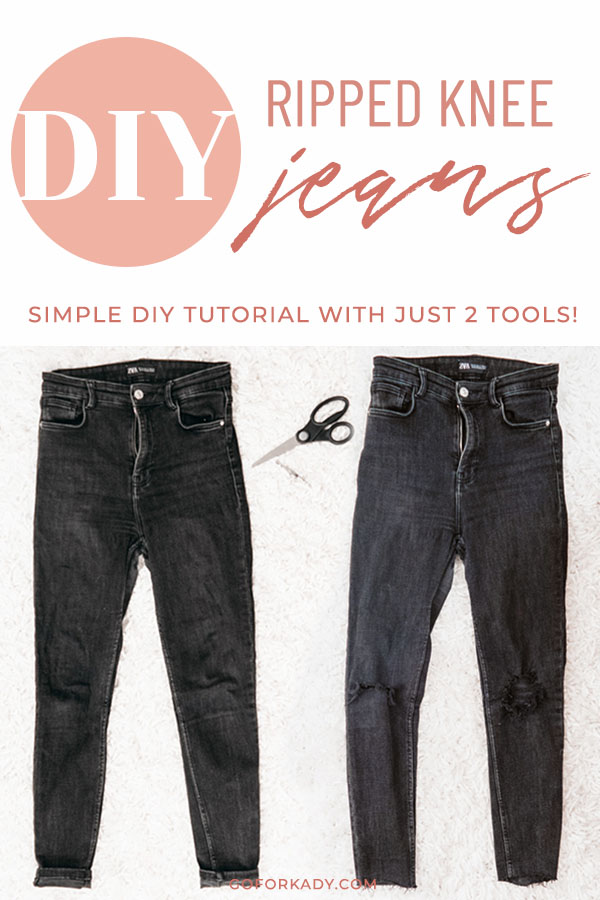
This post is all about how to do DIY ripped skinny jeans at home the easy way — in two hours with just two tools!
One of my favorite ways to breathe new life into an old pair of jeans is by leaning into the distressed vibe and destroying my own jeans at home. As a bona fide member of the thicc thighs society, I have a good amount jeans that have seen better days.
Since my current favorite pair of black skinny jeans is in rough shape, I thought I’d share with you all how I DIY ripped skinny jeans at home!
I’ve done some DIY distressing on a few pairs of jeans in the past, and this method below is the easiest way I’ve found to destroy and diy ripped jeans on your own.
I personally have always done this with skinny jeans (black skinnies to be exact — I just love a good pair of diy ripped black skinny jeans!) but these methods will work on any pair of jeans you have.
They’ll also work just fine if your jeans have stretch in them! I feel like I see so many tutorials for destroying jeans at home, but they’re all on really nice, 100% cotton vintage Levis with no stretch.
My body does not work with jeans with no stretch, so trust me, you can use these tips to DIY ripped jeans with stretch in them too!
If you’re a video person, check out my tiktok on the process below! Otherwise, read on to see how you can DIY ripped skinny jeans the easy way at home!
DIY Ripped Jeans TikTok
@goforkady diy ripped jeans cause sometimes u gotta destroy something perfectly good ##diy ##YouHaveTo ##fashionhacks ##rippedjeans ##tutorial
♬ FEEL THE GROOVE – Queens Road, Fabian Graetz
This post may contain affiliate links, meaning I may receive a small commission if you shop through these links at no extra cost to you. For more information, check out the disclaimer here.
What You Need to DIY Ripped Skinny Jeans at Home
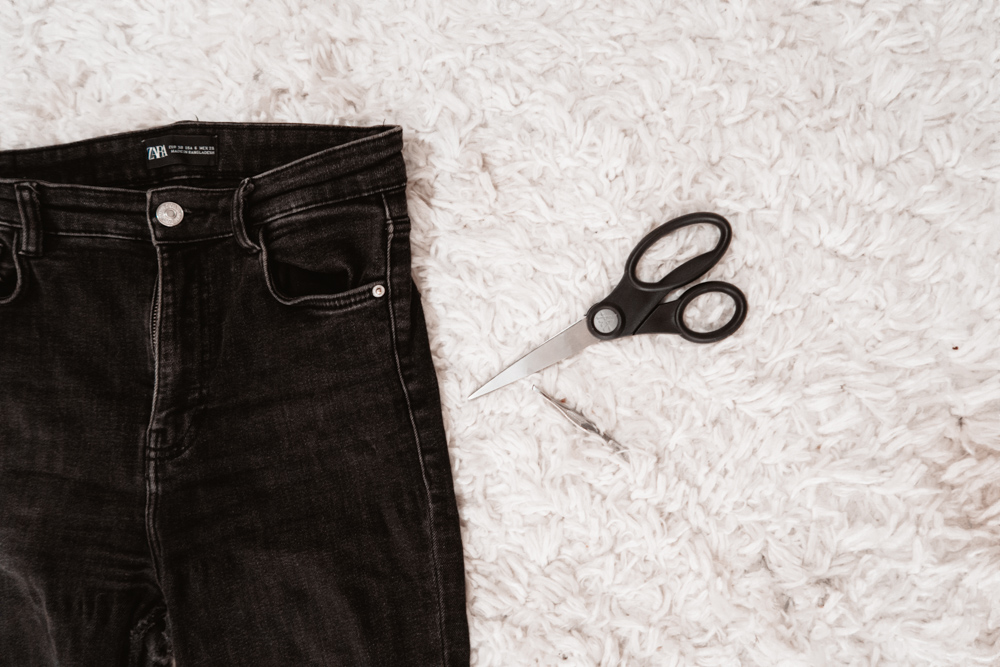
I see so many methods of destroying jeans at home that require razor blades and box cutters and sandpaper and honestly like, stuff I just don’t have. My method of diy ripped jeans takes only two tools: scissors and tweezers.
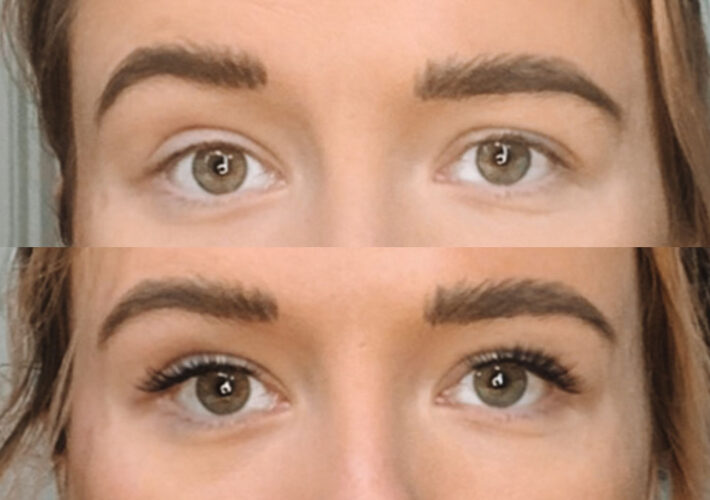
The best part? They don’t have to be nice. They don’t have to be high quality. They can literally be bottom of the barrel junk drawer scissors and your tweezers that are covered in lash glue and don’t grab your brow hairs anymore.
The name of the game here is destruction, so don’t worry about being too neat.
How to Distress Jeans at the Knee
My favorite look for distressed jeans is to basically turn them into a busted knee skinny jean. I love how the look kind of gets the point across of being a distressed jean without the full scale “gone through a woodchipper” vibe some distressed jeans give off. Here’s how I do my diy busted knee skinny jeans!
First, I figure out what pair of jeans I want to destroy. You can thrift a pair if you’d like, but I personally like to use a worn and loved pair that may have seen better days.
Like I said at the beginning, I have big thighs and therefore the inner thigh area of my jeans wears down pretty quickly. When my jeans are worn in the thighs enough that I wouldn’t feel comfortable say, wearing them to work anymore, that’s when I usually take them to diy distressing town.
For this tutorial, I’m using my absolute favorite black skinny jeans of all time, the Vintage Hi Rise Skinny Jeans from Zara.
I wore these jeans to their last legs, and honestly was only ready to destroy them once I got two more replacement pairs, haha. They’re just that good!
Cutting the Knee Holes
When I figure out what jeans I want to use, I like to throw them on first to get a mental picture of where I want the ripped knees to go and if there’s any other distressing I want to do for them. The last thing you wanna do is cut big knee holes halfway down the leg of your jeans only to realize your knee actually sits way higher than the hole and then your jeans just look goofy as all get out.
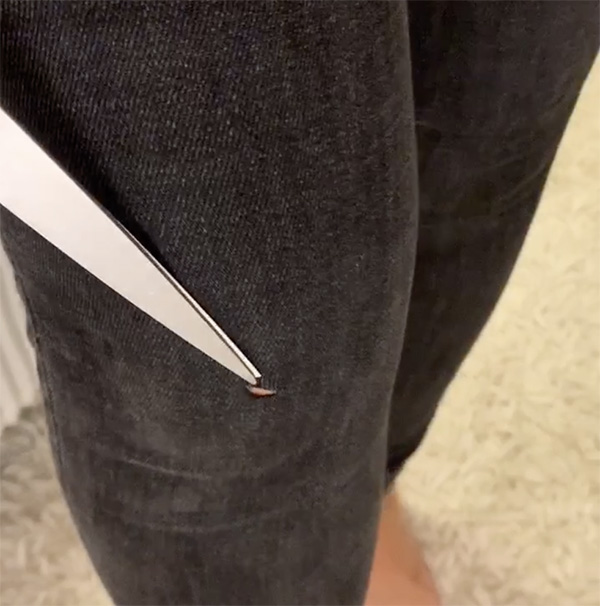
For this, you can definitely use a fabric chalk or something similar. But since I am lazy and do not care, what I like to do is pinch a little of the fabric away from my knee and make a tiny horizontal cut with my scissors while I’m wearing the jeans. This is the easiest way for me to visualize where I want my knee holes to go. Just make sure you pull the fabric far enough away so you don’t cut yourself!
Then, I take the jeans off and lay them flat on the ground. Inserting my scissors into the tiny hole I made, I lengthen the holes toward the side seams in a horizontal line.
If you want the knees of your diy ripped skinny jeans to just be a slit, stop here! I’ve done this for a pair in the past (you can see in this post about fall fashion finds) and they definitely look super cute!
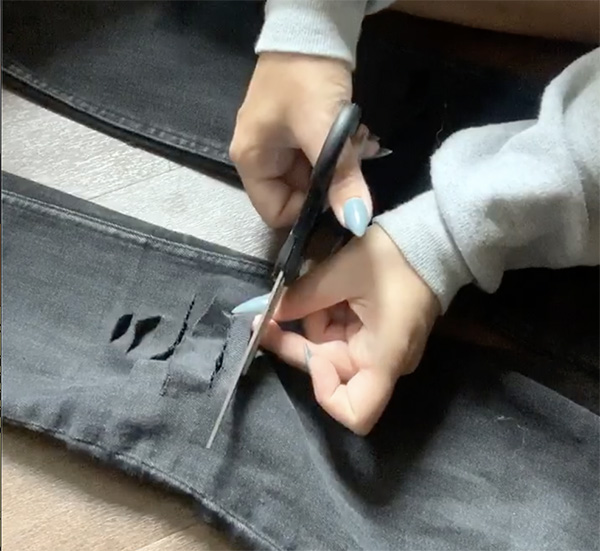
However, if you want to have a busted knee skinny jean look or big knee holes in your jeans, the next thing you want to do is make another horizontal cut in the knees about a half an inch above or below the first cut.
It’s this little segment that will wind up being the horizontal threads holding each side of your knee holes together, if that helps you visualize what you’re doing!
On these jeans, I wanted an asymmetrical look, with one knee just a little frayed and distressed, but the other knee to have a big hole completely busted open. On one leg, I stopped here, with just the two horizontal cuts. On the other leg, I continued to make more horizontal cuts about a half inch apart in the knee area. I varied these in length as well, with smaller sets of cuts on the bottom and top and longer cuts in the middle, to make sure the knee hole didn’t look too uniform.
Fraying Your DIY Ripped Skinny Jeans
For this next part, you’re probably going to want to move to a hardwood or tile floor, if you can, because it’s about to get messy.
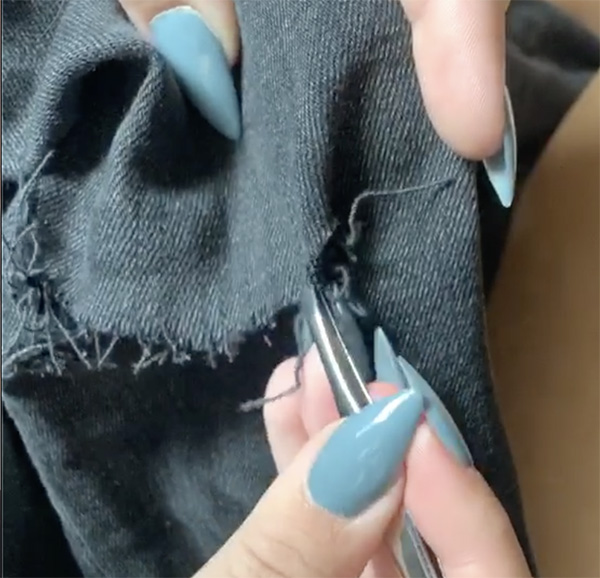
Grab your tweezers, take your hand behind one of the strips of fabric that you cut, and start pulling on the bottom edge of it until the short, vertical threads pull out.
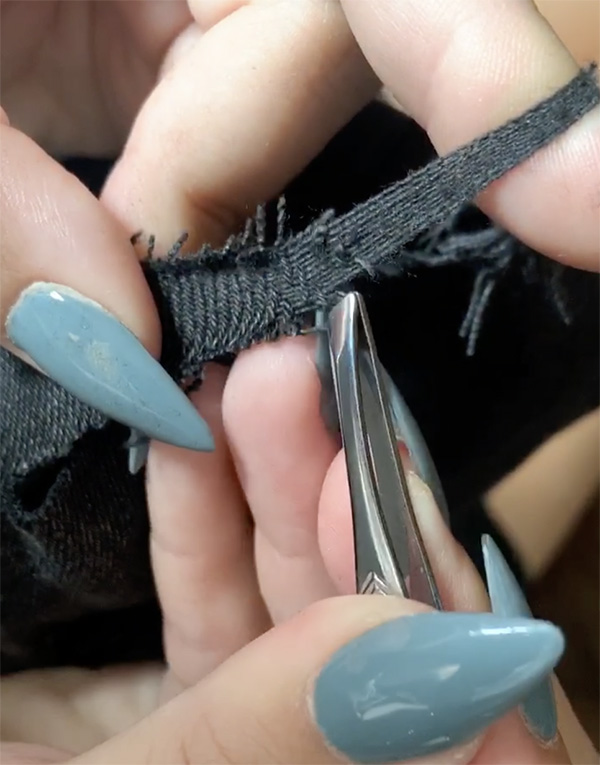
This is going to be a bit challenging at first since the weave is so tight, but stick with it!
If you accidentally pull a horizontal thread, that’s ok! These jeans are meant to be destroyed, and when you have to diy ripped skinny jeans, the less perfect they look the better.
Keep pulling on each section of fabric until all that’s left are the horizontal threads. If you’re diy distressing jeans with stretch in them, these threads are probably pretty elastic, and might look curly or springy at this point. That’s ok too!
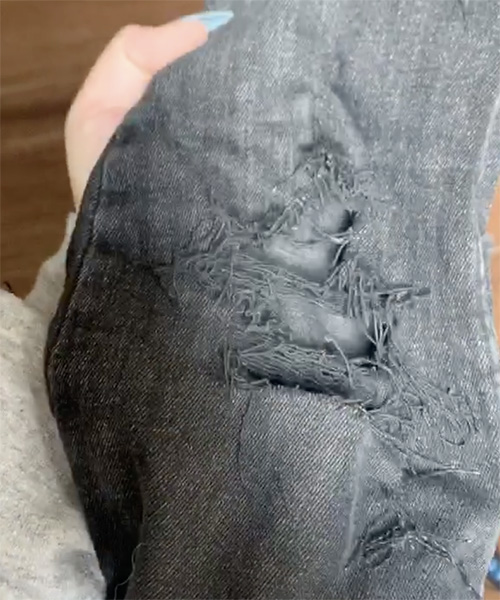
One last thing I like to do is take my tweezers and lightly pull on the top and bottom edges of the knee hole we just made — the part attached to “rest” of your jeans so to speak. This roughens up the edge and adds a little bit more of a natural distressing to the whole look that I think really takes your diy ripped skinny jeans to the next level.
How to Fray Jeans at the Hem
Now, you could totally stop at the destroyed knees if you want to! For me, however, I am a short girl with short legs and I often find that even my most favorite jeans are a little bit too long on me.
Fortunately, distressed hem jeans are definitely a cute look, and they’re extremely easy to DIY at home.
For me, I’ve cuffed this old pair of jeans so many times that there was basically a crease where I usually like the length to sit. All I did was use that crease as a guide, take my scissors, and cut the length of the jeans off.
Then, like the edges of our knee holes, I grabbed my tweezers and roughed up the hemline, just randomly pulling on the edge until the hem was less clean and more destroyed. Perfect!
Give Em a Tumble
The last thing you want to do to bring your diy ripped skinny jeans together is throw them in the dryer.
Yes, some people go through a whole wash cycle. I don’t always have the time, and I think the dryer alone works just fine!
The dry cycle will help loosen up any of those threads and fibers that were left around the distressing you did to your jeans and make them look so much more worn in and real. Washing them as well definitely amplifies this look, and these jeans will look more distressed over time, but in a pinch, just tossing them in the dryer will definitely get the job done.
Final Touches
Once my diy ripped jeans have gone through the dryer for about 30 minutes or so, I try them on again and see how they’re looking.
Most of the time, whatever happens is great! Again, the beauty of ripped jeans is that there’s no true “right” way to do it, and anything destroyed generally looks good no matter how it’s done.
For these jeans though, once they ran through the dryer, I found that I wasn’t loving the sausage vibe the horizontal elastic threads were giving my one knee. That is definitely something to consider if you’re doing diy ripped skinny jeans as opposed to a baggier jean, is that the rips may cut into your leg a little harsher.
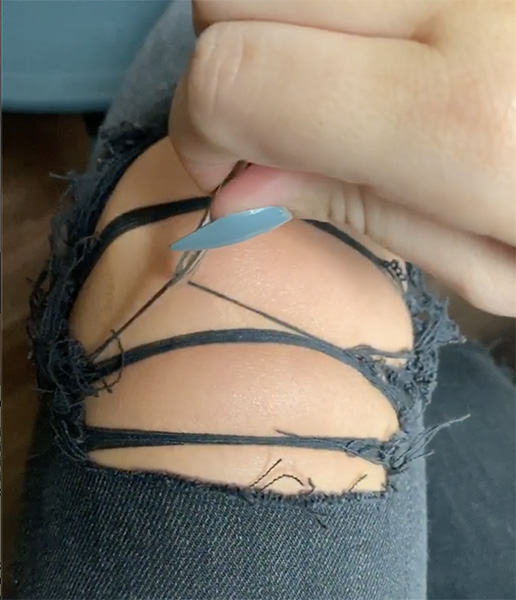
No big deal though! All I did was take the same tweezers, while I was still wearing the jeans, and just pulled on the threads that were bothering me until they ripped.
In my opinion, it was way more flattering and comfortable, and it gave me those perfect, busted big knee holes with frays at the knee that I love so much. After that though, I was all set!
I did this whole distressing process in probably less than two hours this afternoon — I promise it’s a super fast and easy way to DIY distress jeans at home!

New DIY ripped skinny jeans without even going to the store? We love to see it!
I hope you found this simple tutorial for DIY ripped skinny jeans helpful! Feel free to share it and pin it for later!


